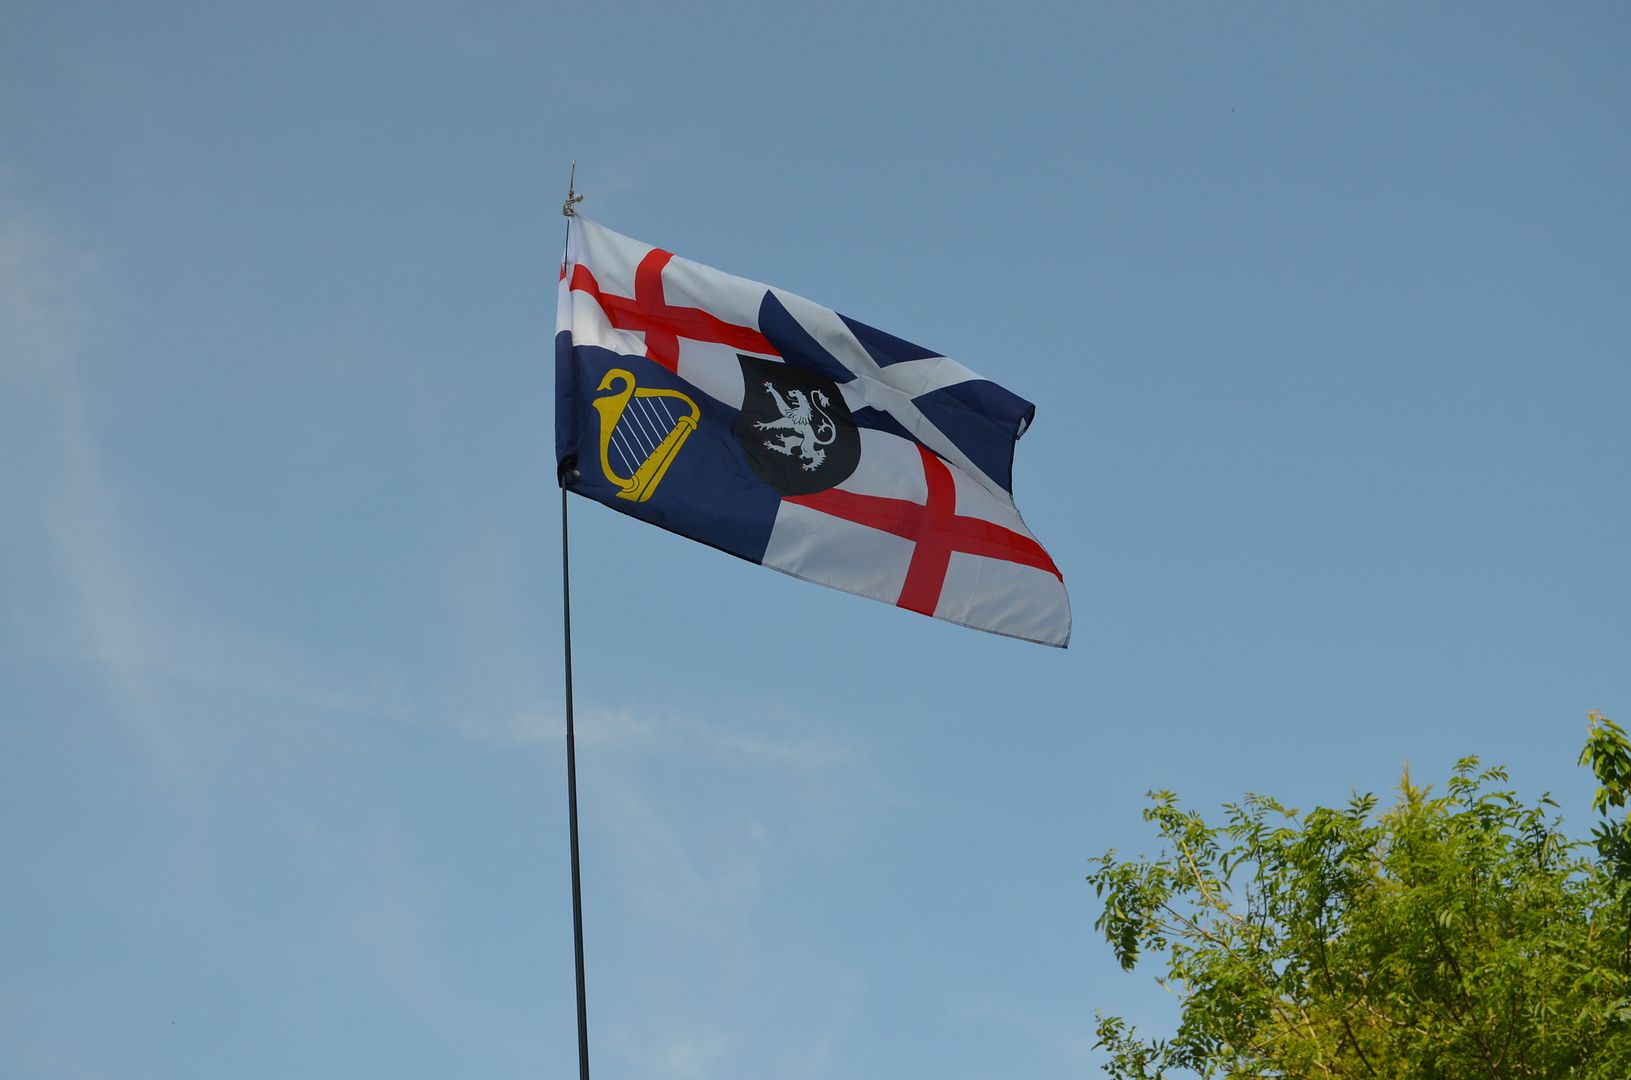
Earlier that morning I received a small parcel - Oliver Cromwell's standard - this had to fly. Many years ago when the kids were young we used to go camping quite a bit and I bought a flagpole (telescopic carbon thingy) to add a bit of fun to our trips. It used to fly a pirate flag so our kids could always find us in the crowded campsites. I dug this out and raised the Parliamentarian standard...
Before I deliver the all action report its probably worth mentioning how the game was set up. You may recall I posted a couple of weeks back that I had created 'unit cards' for our Pike & Shotte games. I have now created enough of these for all the units Mark & I painted and we decided to use these as a random force generator.
link - http://shedwars.blogspot.co.uk/2016/05/ecw-unit-cards.html

Each of us has painted just over fifty units and based on the army lists in the rule book we created a deck for each force (excluding officers). Each side would get thirty units. this creates a degree of randomness that a true battle might deliver. Although they are not matched sides in terms of points they do deliver a balance in the number of forces present.
In advance we agreed that each side would get a general and six leaders (this could therefore provide a force of six or seven battalia depending on whether the General had his own units to command).
The Generals were selected from the personalities listed in the rule book (eg King Charles, Essex etc) - If the player drew either Rupert or Cromwell (we were playing early ECW) these personalities would become Cavalry commanders and random General (non named) would be used as the C in C.
If the personality came with his own troops, eg Cromwell allows the player to field two units of Ironsides these would replace the vanilla options in the card deck dealt.
Our Commanders in Chief then determine the composition of the battalias once the cards are dealt. They can select whether their leaders are cavalry or infantry commanders. Cavalry commanders can command any unit bar Pike and Musketeers and Infantry Commanders can lead any unit bar Cavalry. This allows for battalias to be be flexible - ie Dragoons, artillery and Commanded Shotte can be attached to either Cavalry or Infantry battalia.
The card decks are as follows
Unit
|
Royalist
|
Parliamentarian
|
Pike
|
7
|
7
|
Musketeers
|
14
|
14
|
Commanded Shotte
|
2
|
2
|
Storming Party
|
1
|
1
|
Dragoons
|
3
|
3
|
Light Artillery
|
2
|
3
|
Medium Artillery
|
2
|
3
|
Currassiers
|
1
|
2
|
Standard Cavalry
|
12
|
9
|
Harquebusiers
|
1
|
1
|
Total Cards
|
45
|
45
|
You can see from the above table that the Royalists have slight advantage in cavalry and the Parliamentarians have the edge in Artillery (as per the army lists).
As it happened in our game last night the Parliamentarians had a large Infantry force, virtually no artillery and a smallish number of Cavalry (albeit bolstered by the presence of Cromwell and his Ironsides).
The Royalist troops were lead by Lord Hopton and his tough Cornish Pike, they also enjoyed a sizable Cavalry force but again only a few guns.
Onto the battle....
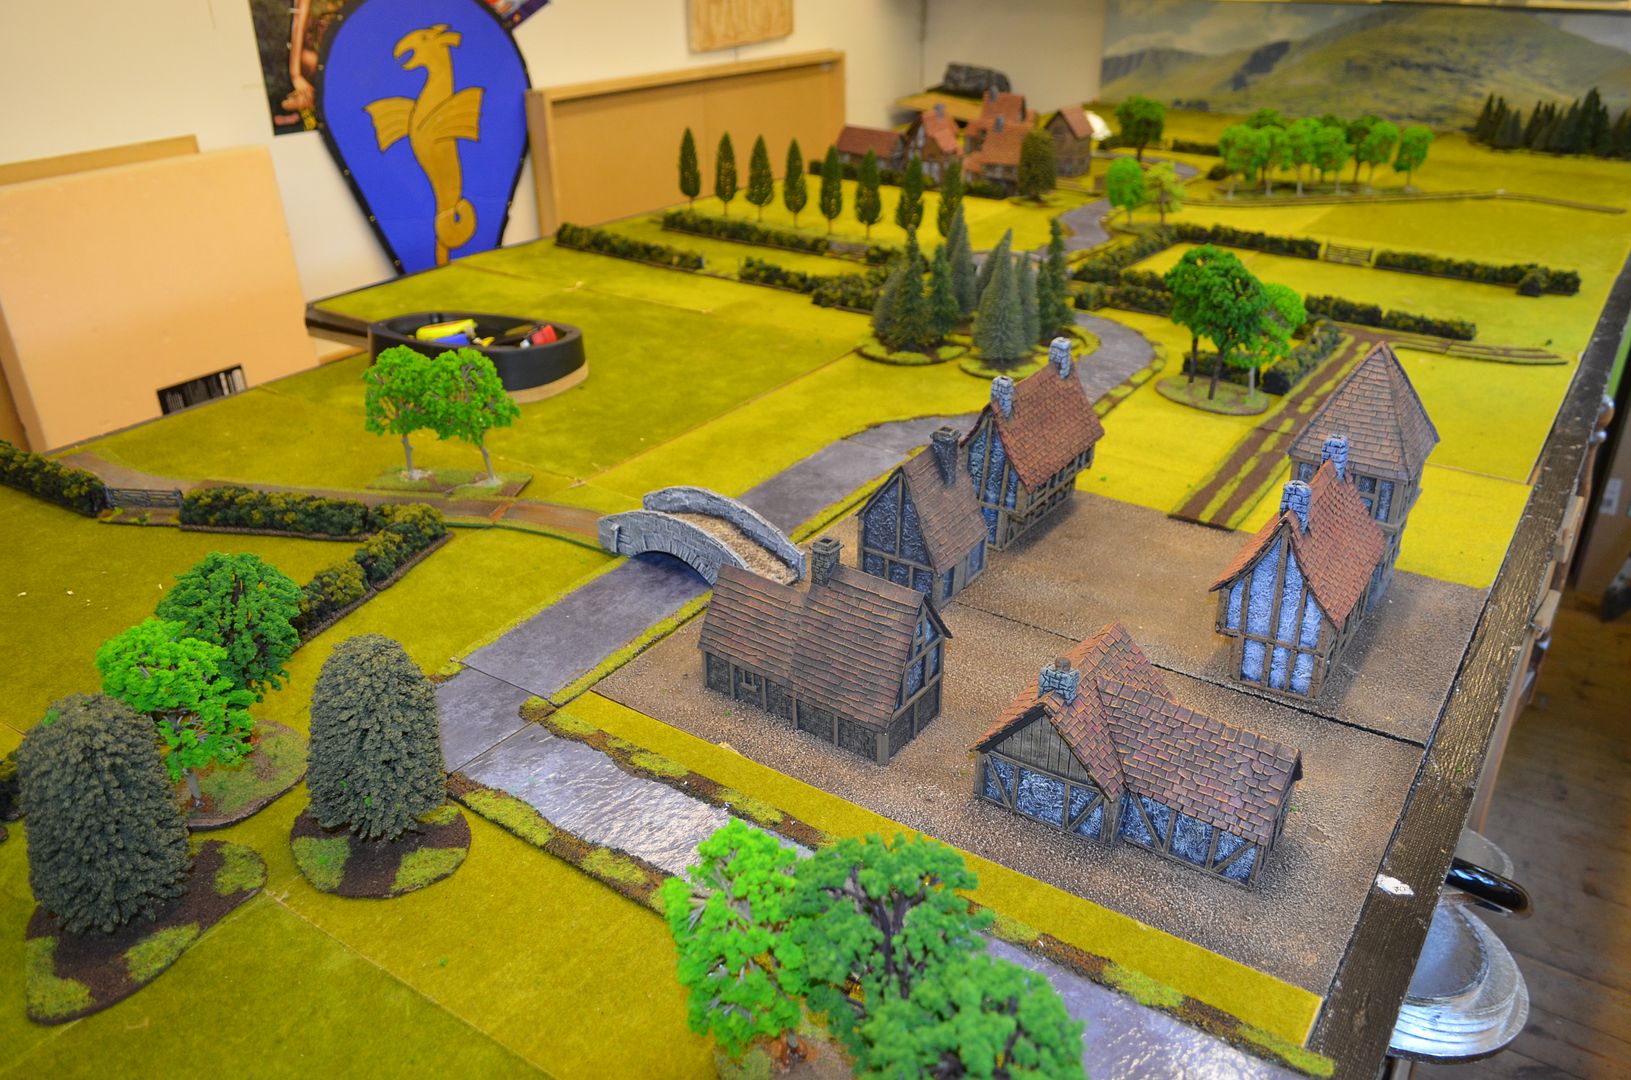
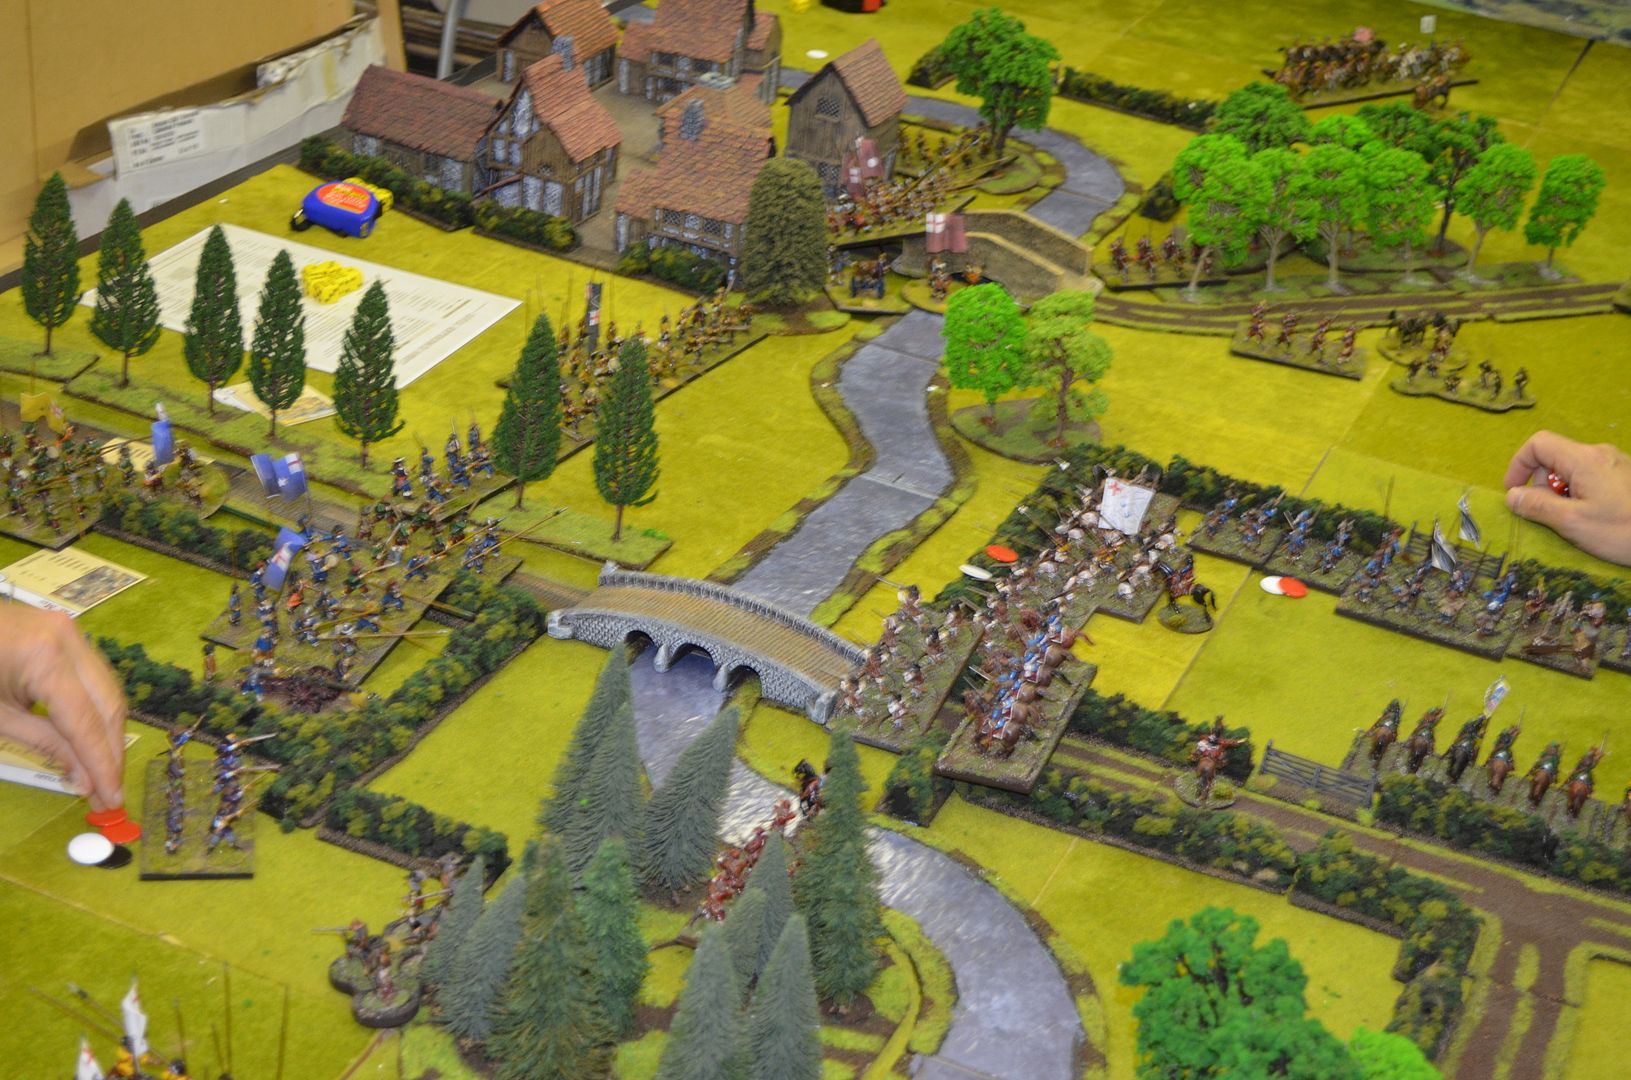
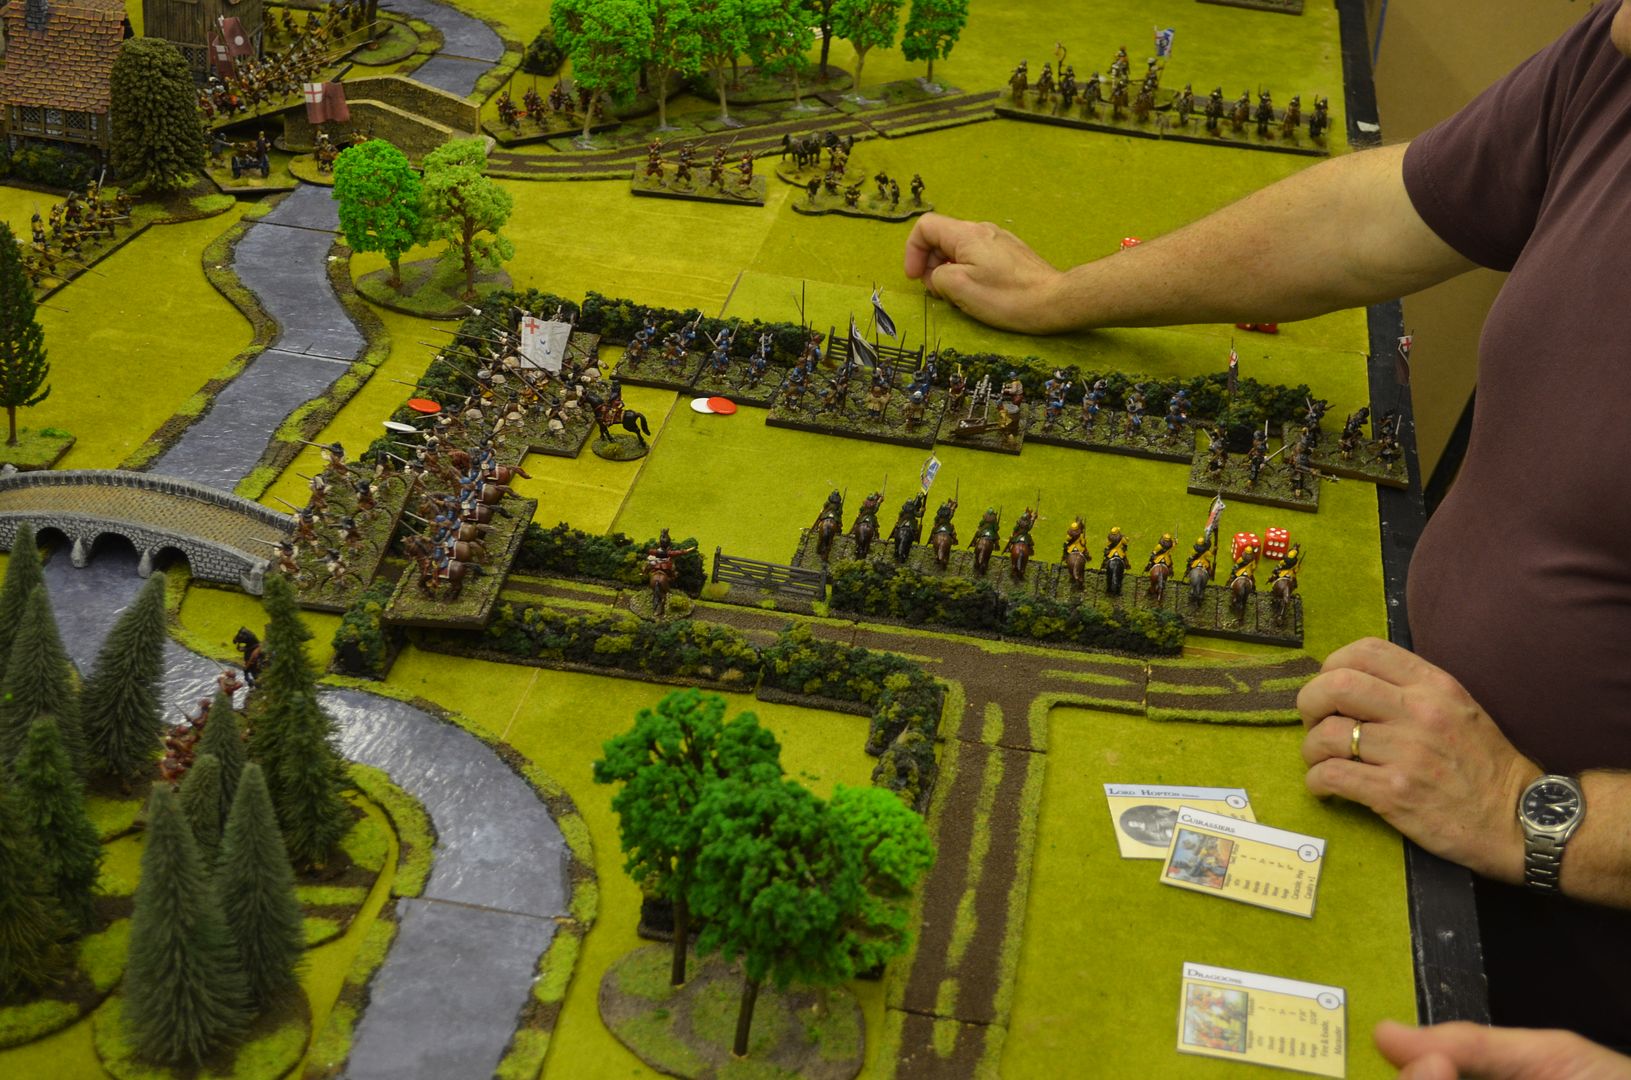
The Field of play consisted of a fordable stream strung between two hamlets. There were three bridges across the stream. The objective was to control the majority of bridges (ie two) by the end of the evening (or break the opposition).
The Stream was fordable by any unit bar artillery however any unit crossing lost 3 inches of movement and any charge bonus if they were assaulting units on the opposite bank. The area was also lightly wooded and crisscrossed with hedgerows. All very English.
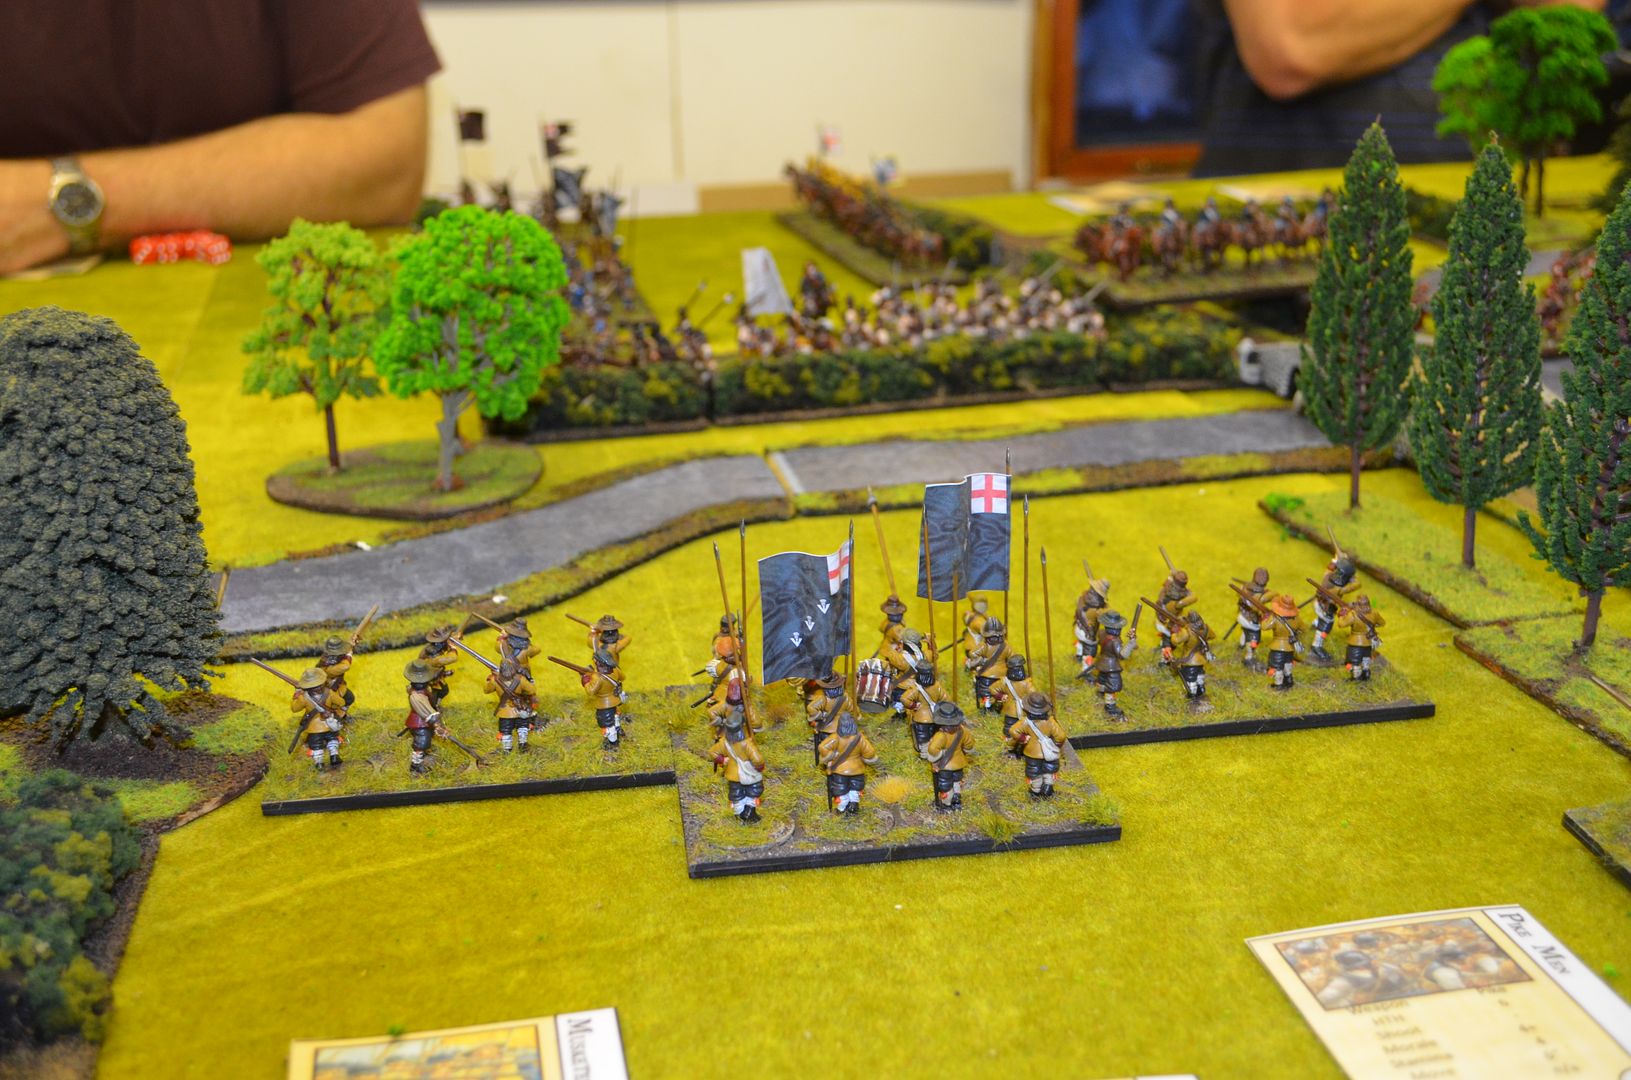
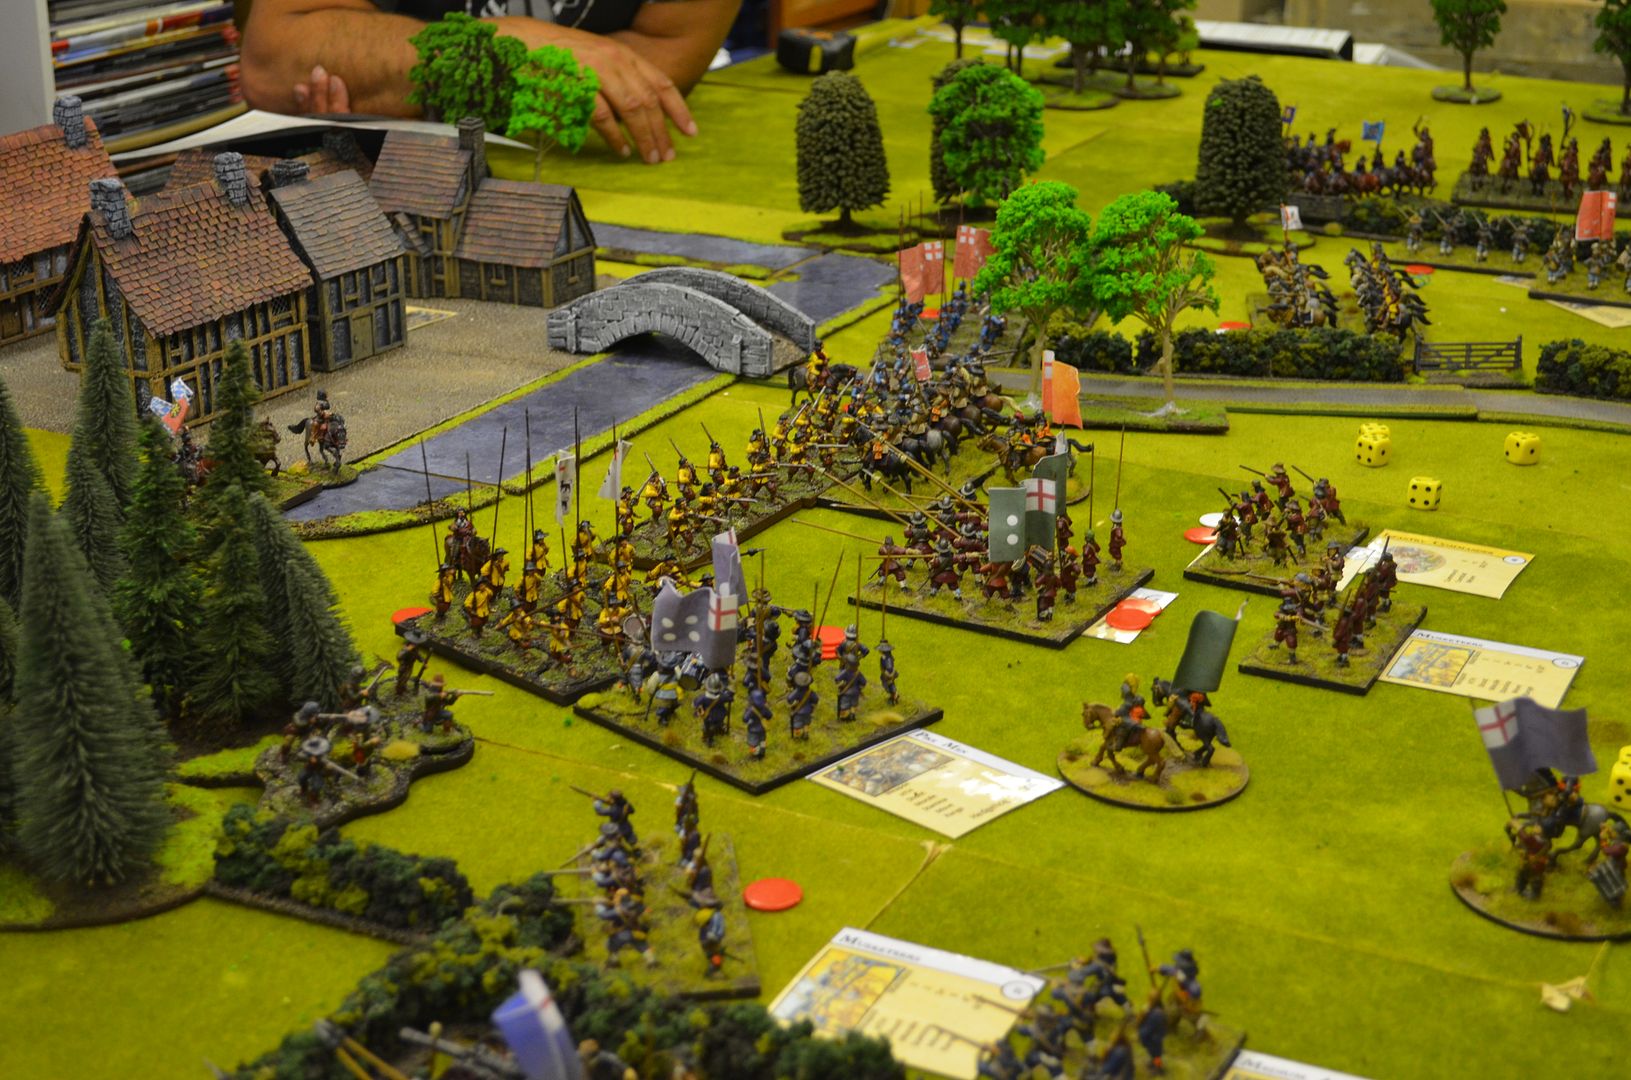
 |
| View from the Royalist left wing |
The Parliamentarians were on the left of the above picture
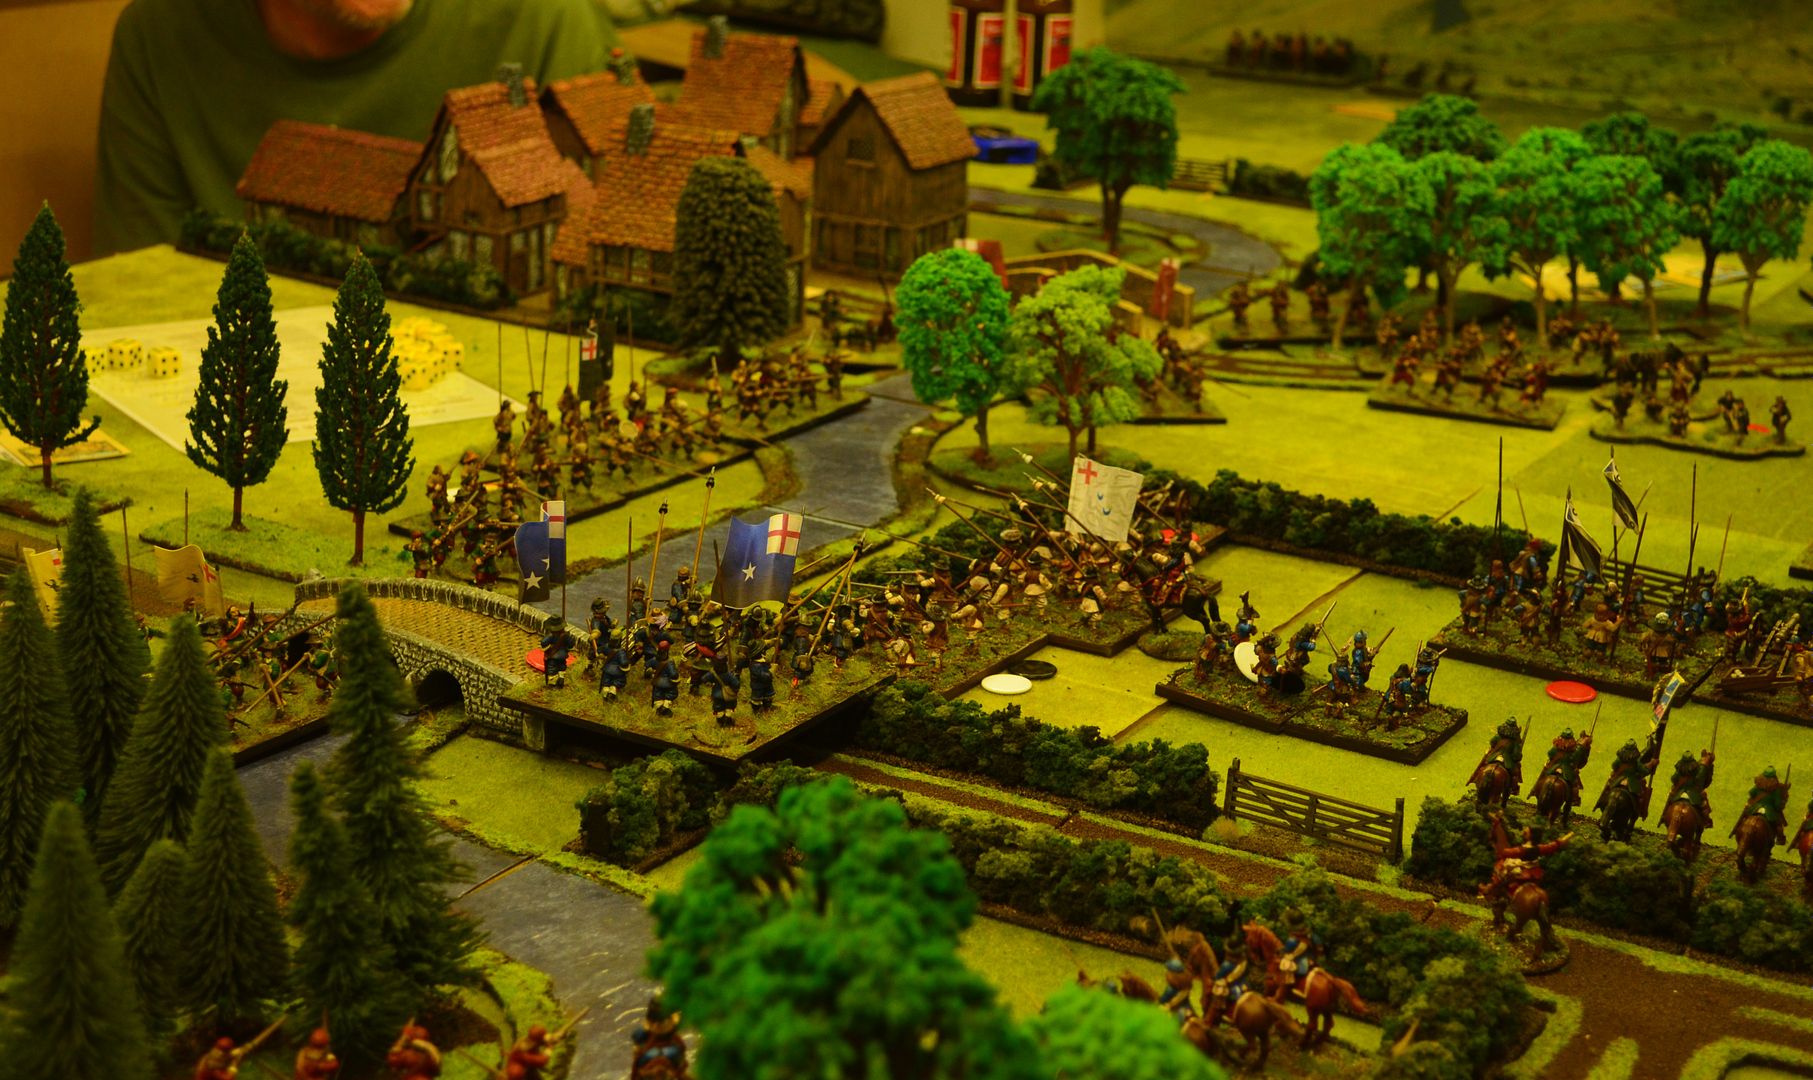
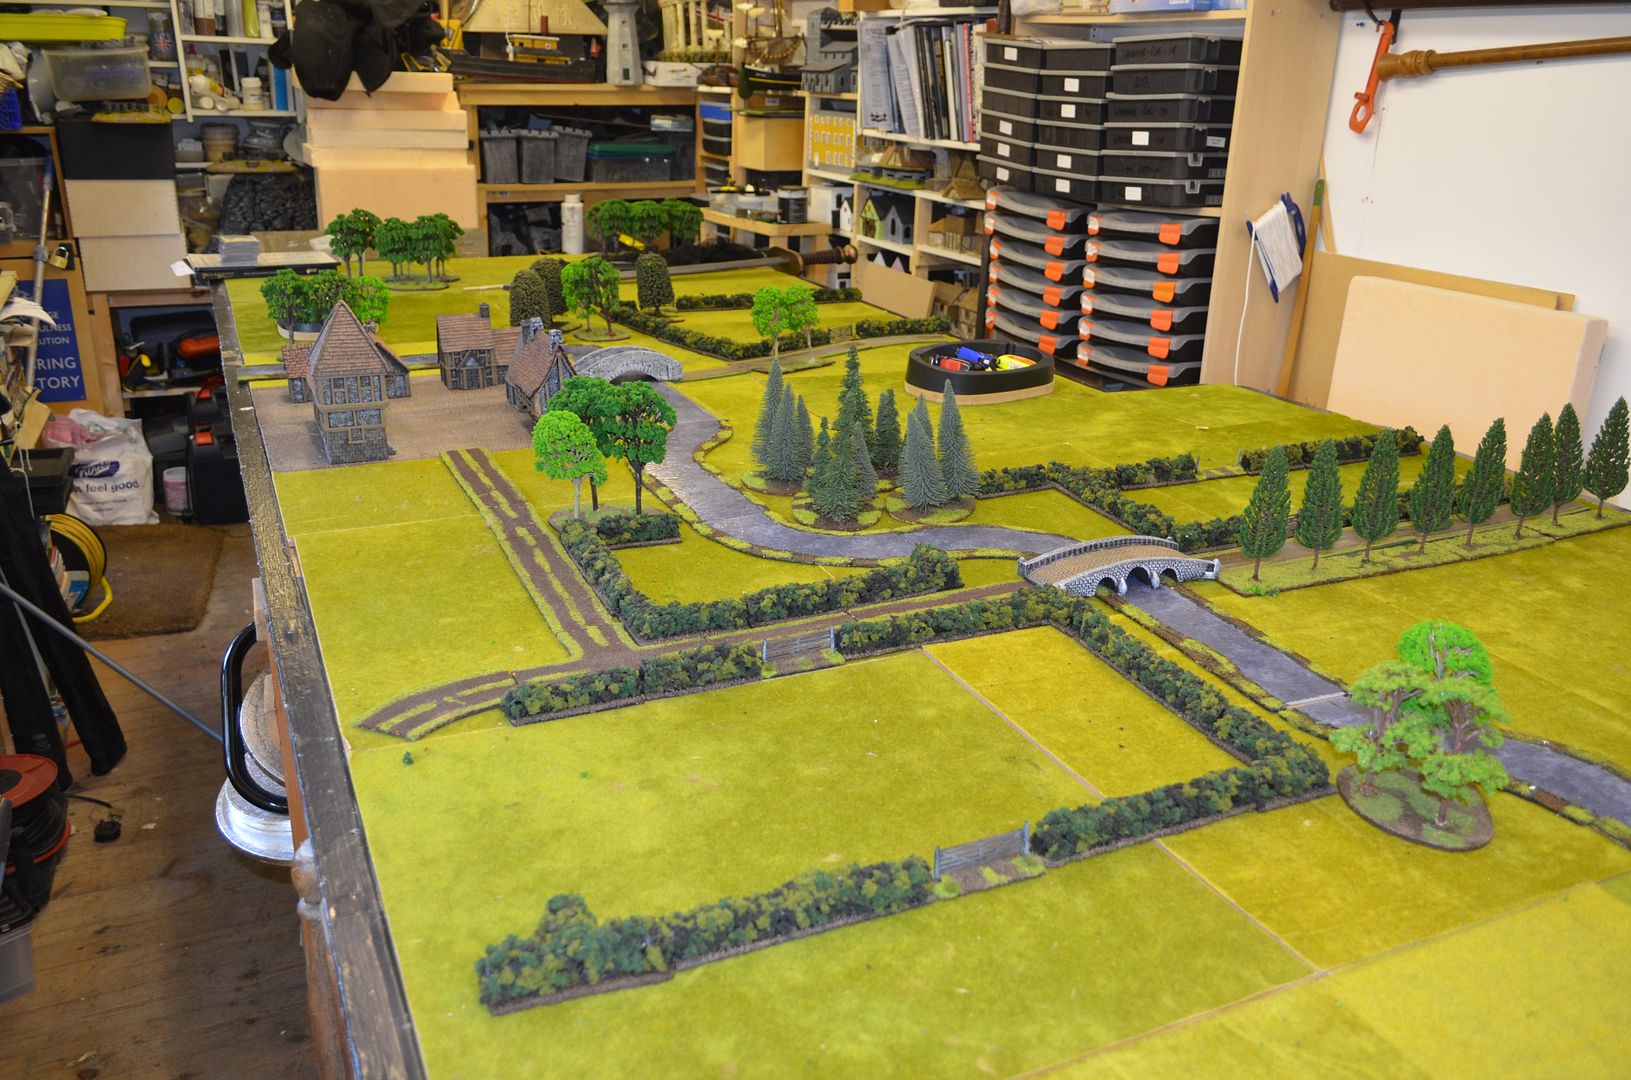 |
| View from the Royalist Right Wing (their is a hamlet and bridge to the upper left of this picture) |
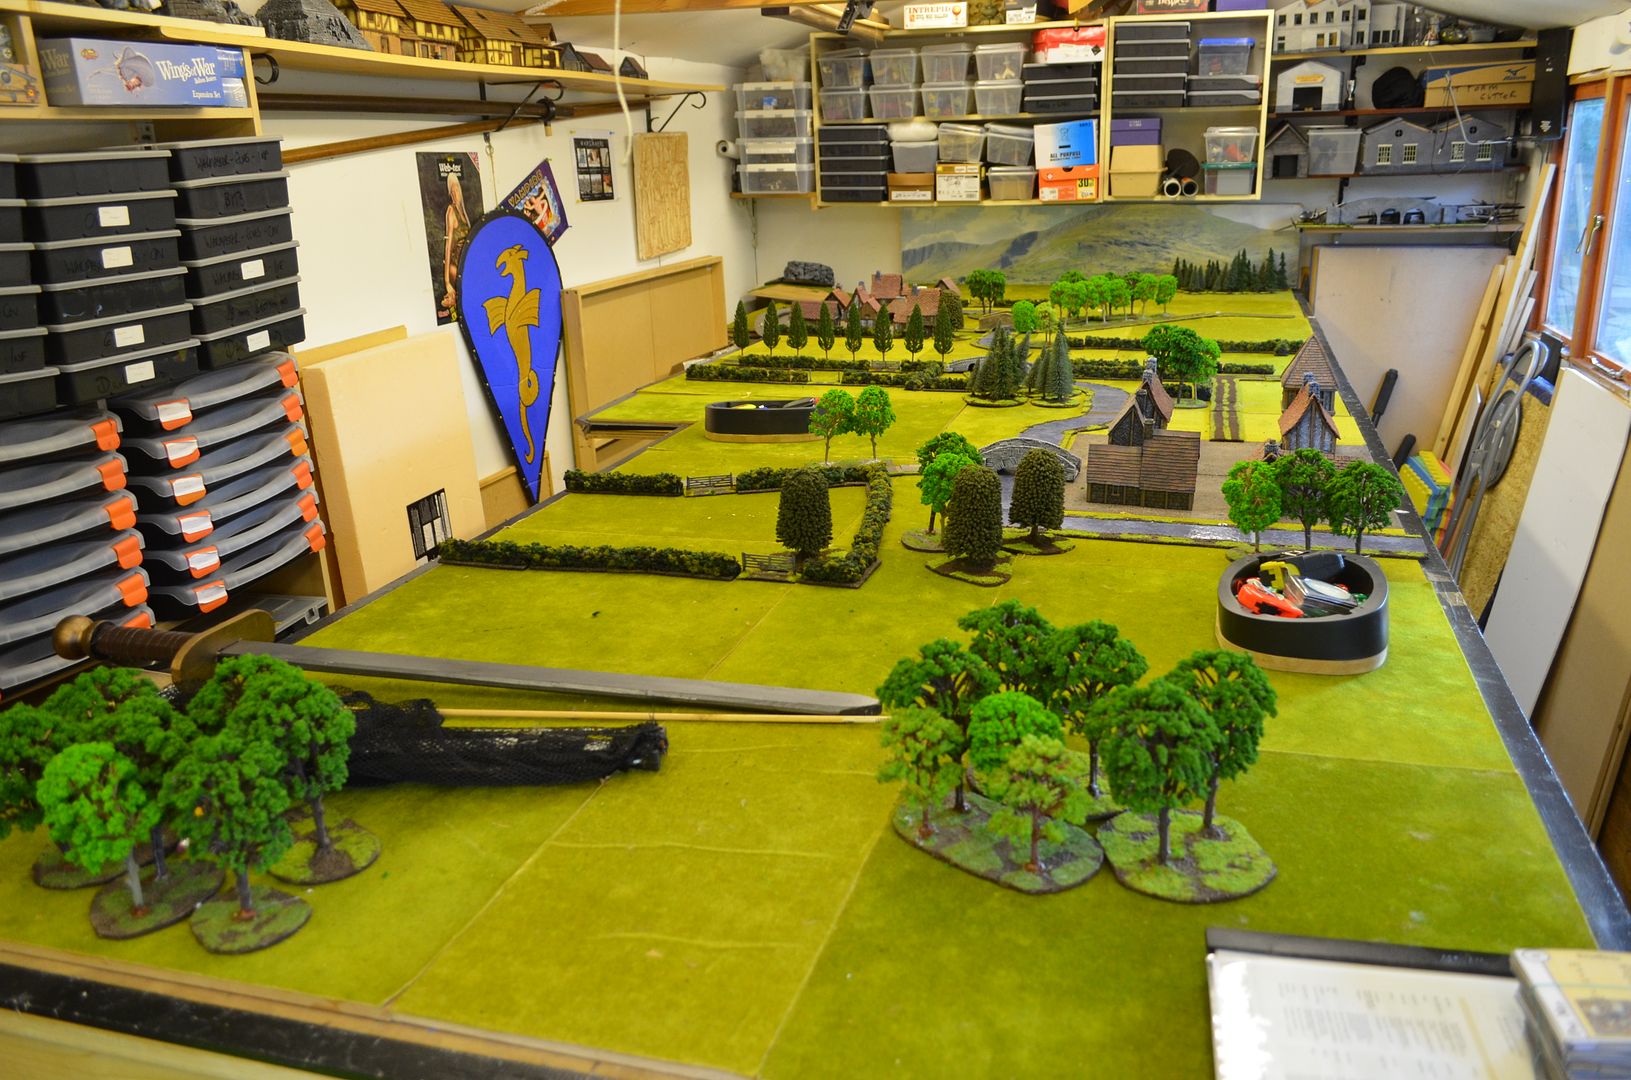 |
| View up the centre... |
Deployment was initially done by placing the cards onto the table.
With five of us playing I supported John by commanding the left flank of the Rebels with John commanding the right and centre. Opposing us was Mark (Royalist Right Flank), Charlie as Lord Hopton in the centre and Rolf commanding the vast Royalist cavalry brigade on the left.
The Royalists kicked off proceedings by moving their entire right flank into the fields opposite the middle bridge.
This effectively meant the Rebel cavalry on their left had no targets and that the hamlet on our left flank would play or no affect in the battle. It was obvious that the Royalists wanted to command the middle bridge and the one out on their left flank.
 |
| The Royalists retreat on their right flank behind the hedgerows. |
 |
| This left the Rebels to secure the first Bridge and the hamlet |
Meanwhilst the centre started to get crowded - Royalist troops occupied the second hamlet and defended the streams banks.
The Forces of Parliament marched forwards.
By now General Rolf's cavalry wing started to move forward and threaten the rebels right wing. 'We were dreadfully outnumbered sir' as the parliamentarian cavalry retreated towards the centre.
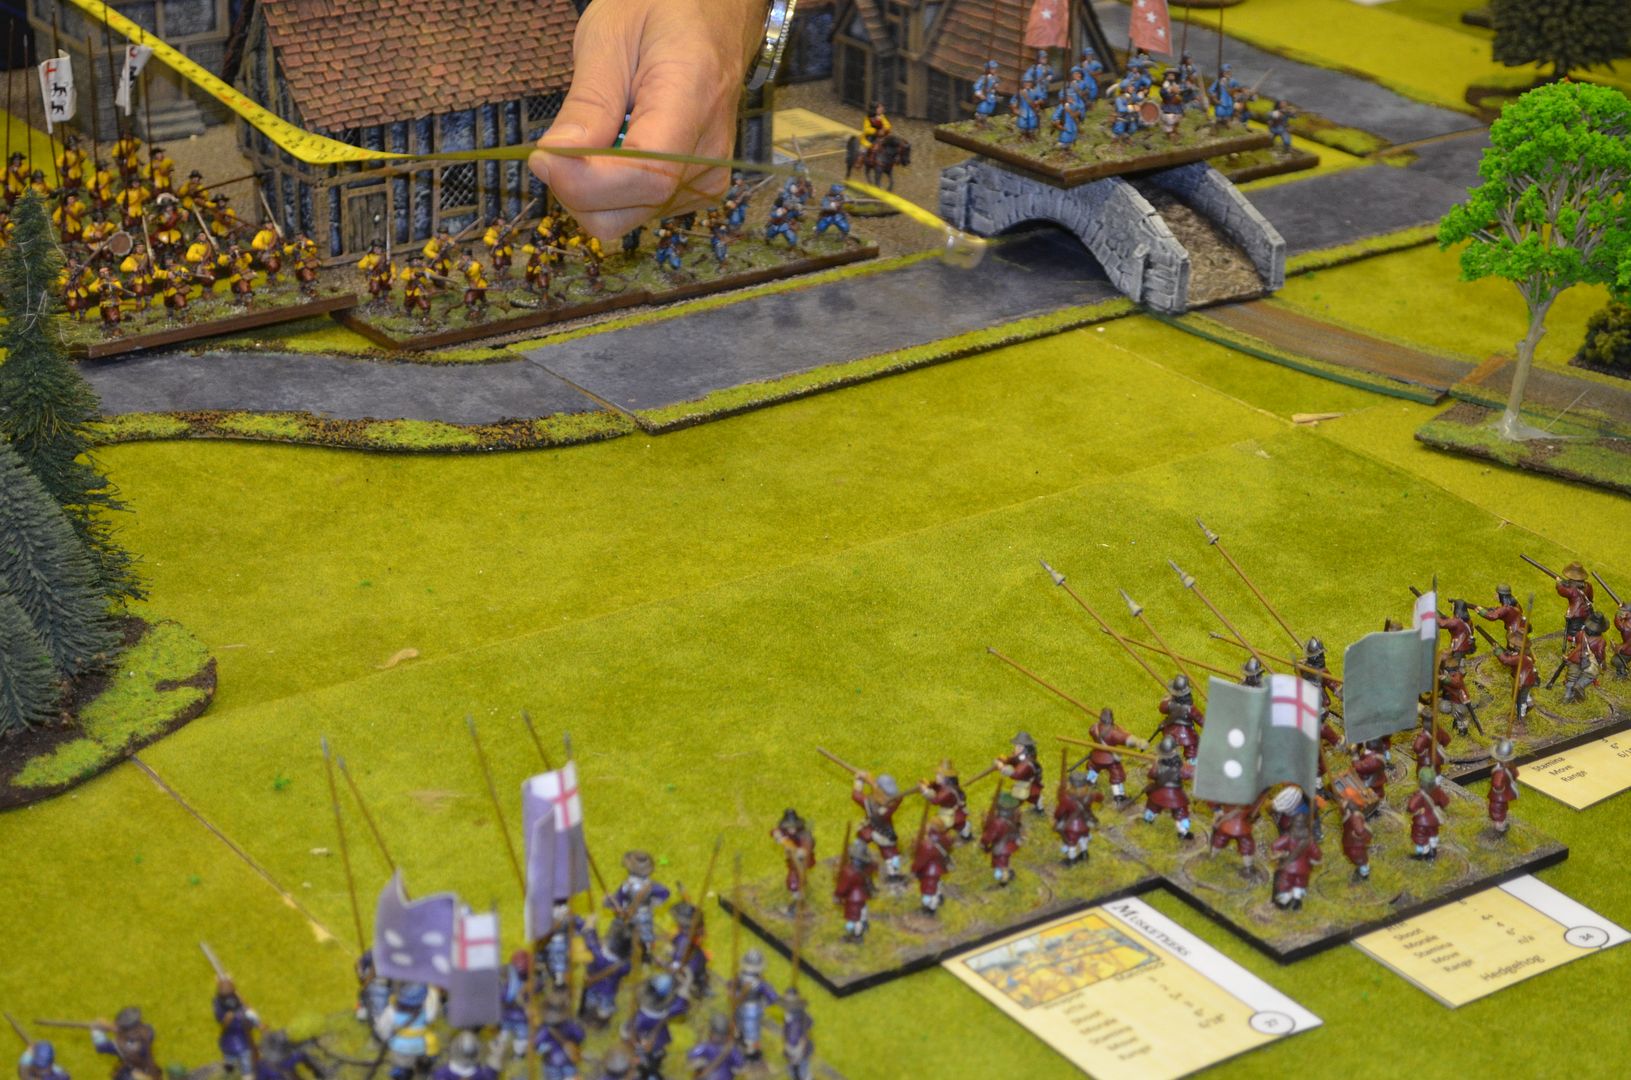
With the Royalist right flank nice and secure behind the hedges Pikes moved up onto the central bridge. Only to come under withering fire from the opposing forces,. In two turns this unit was routed and destroyed.
 |
| Parliament siezing the middle bridge |
 |
| Parliamentarian muskets pour fire into the pikes on the brifdge |
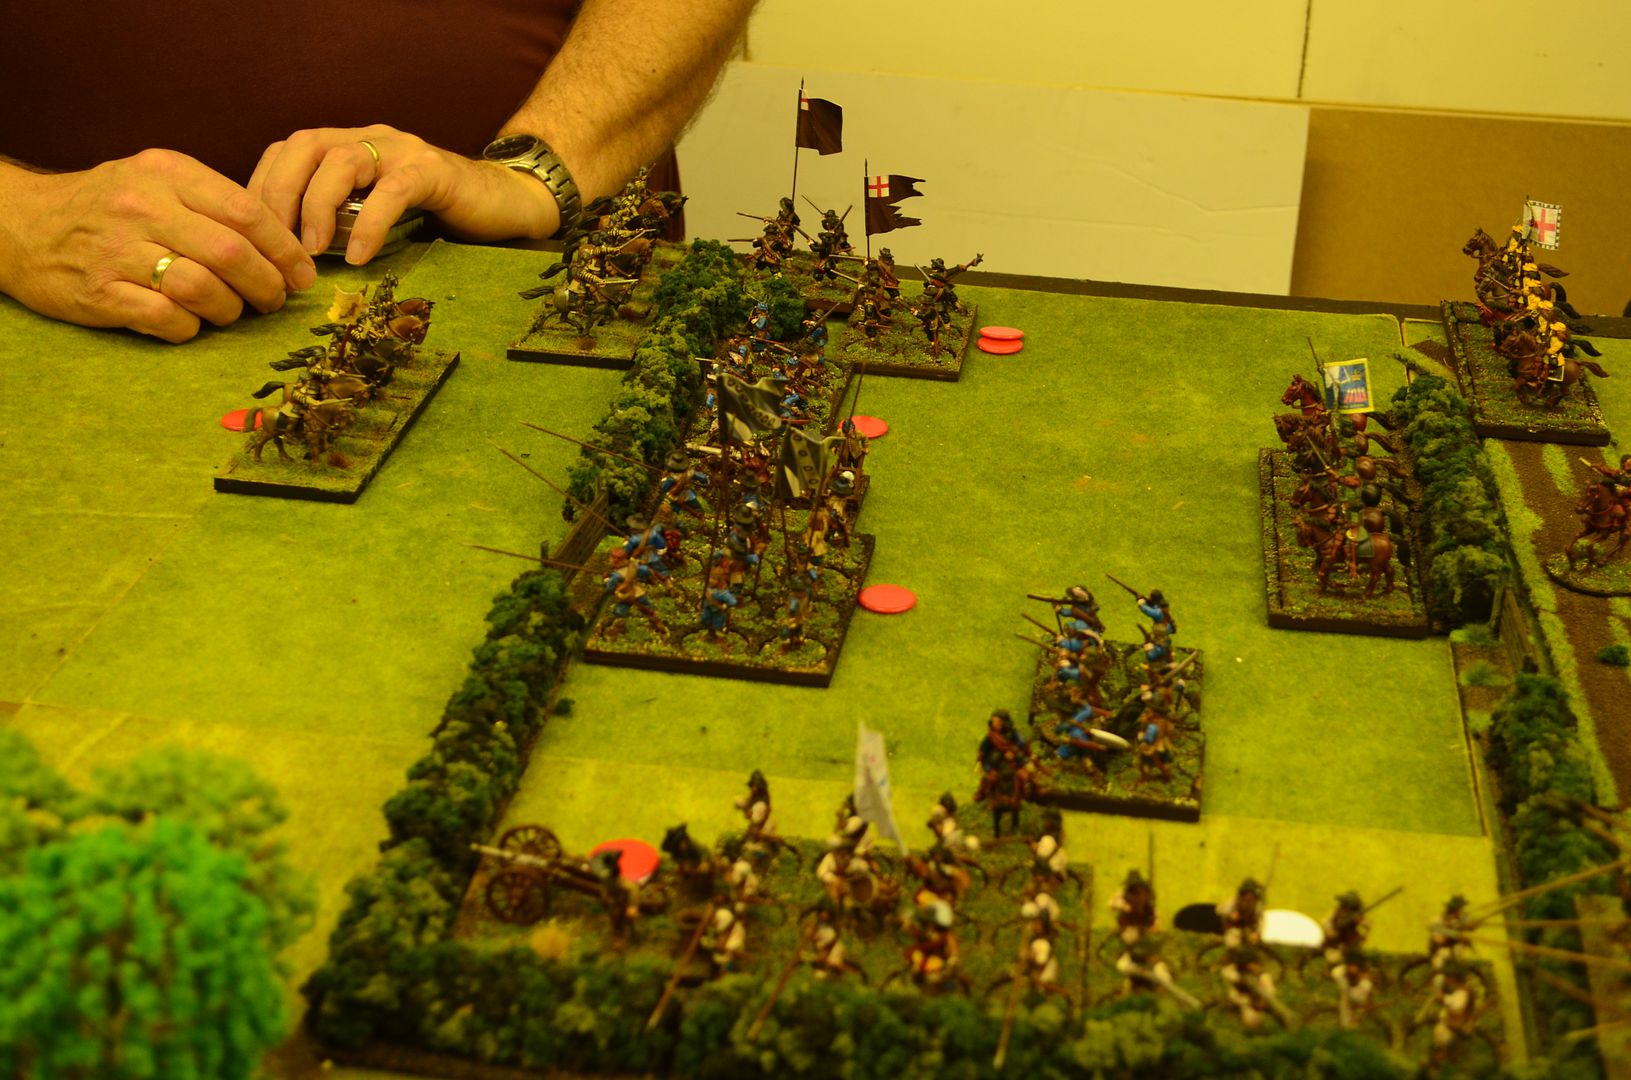
A few turns in and general melee was breaking out in between the middle and third bridge. Much of the fight was going the way of the king. Lord John, CinC of the Parliament forces threw his cavalry from the right wing into the fray to dent the Royalist advance.

Top & Bottom pictures show the frantic action in the centre...
Things were definitely heading the Lord Hopton's way (Charlie). With his forces victorious in the centre the Roundhead centre and right wings were in serious danger of collapse.

The Royalist Left Wing Cavalry smashed into the remnants of the Parliamentarian right wing forces - a brave infantry regiment and a hedge the only thing standing in their way.
It was getting late...remember the objectives of the battle - secure two bridges by the end of the night !
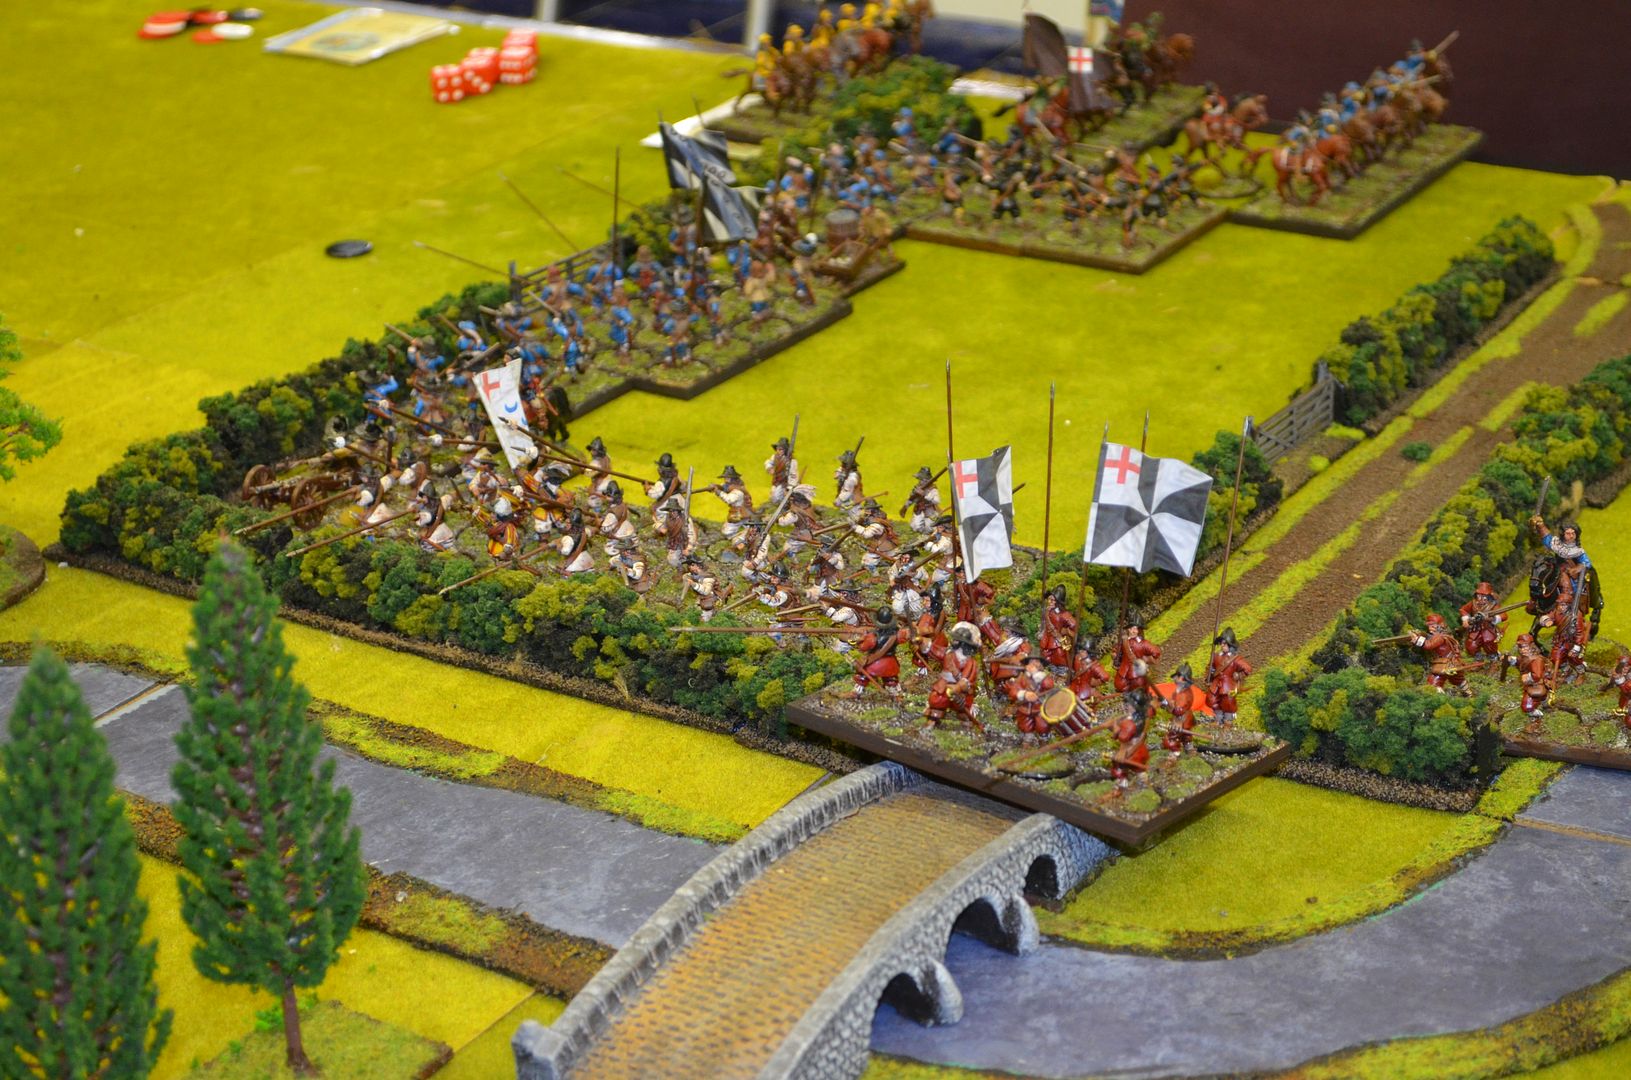
 |
| The Royalist left flank holding the middle bridge |
Roundheads pushed up onto the bridge dispossessing the crossing from the Kings forces.
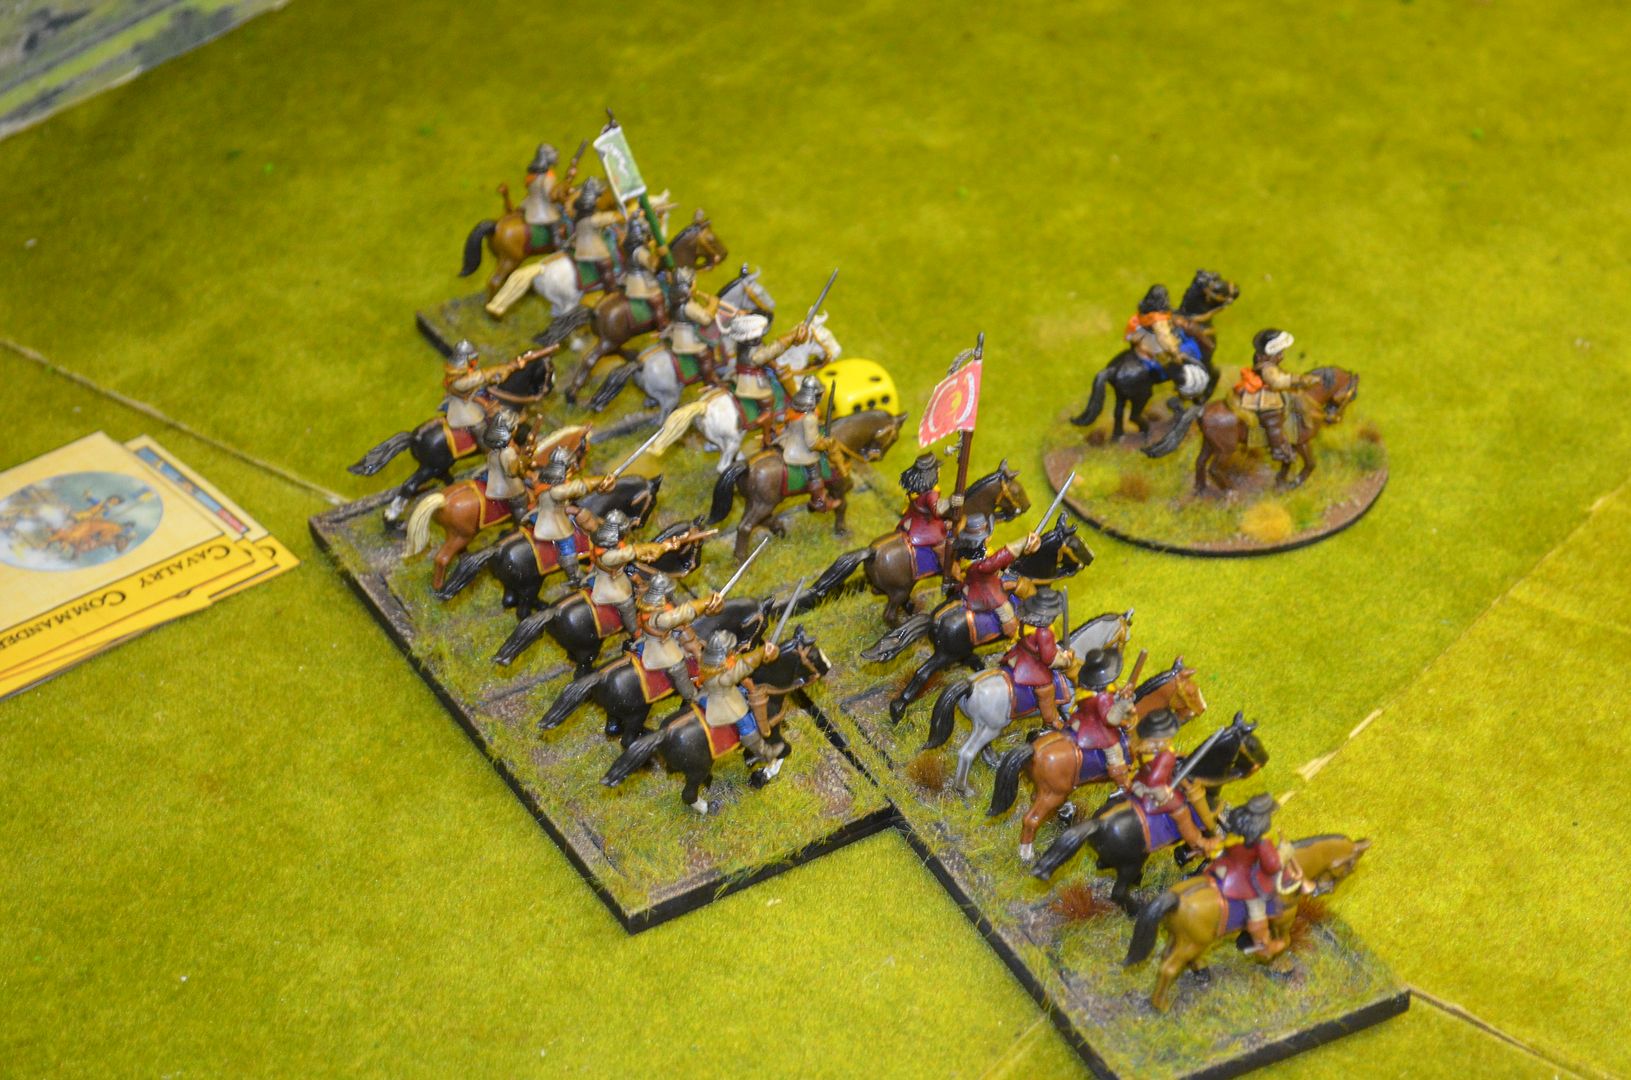
The Parliamentarian Ironsides pushed forward (top right of picture below) routing the defending troops and causing mayhem
The Ironsides charge....
By hook and by crook John's parliamentarian forces still held their own in the centre....

One last push boys cried Lord John...the Parliamentarian forces surged forward and took the bridge. The Royalist left wing smashed.
Victory for Parliament ! Albeit a technical one ;-)
Had the game gone on I doubt we would have been able to claim victory.
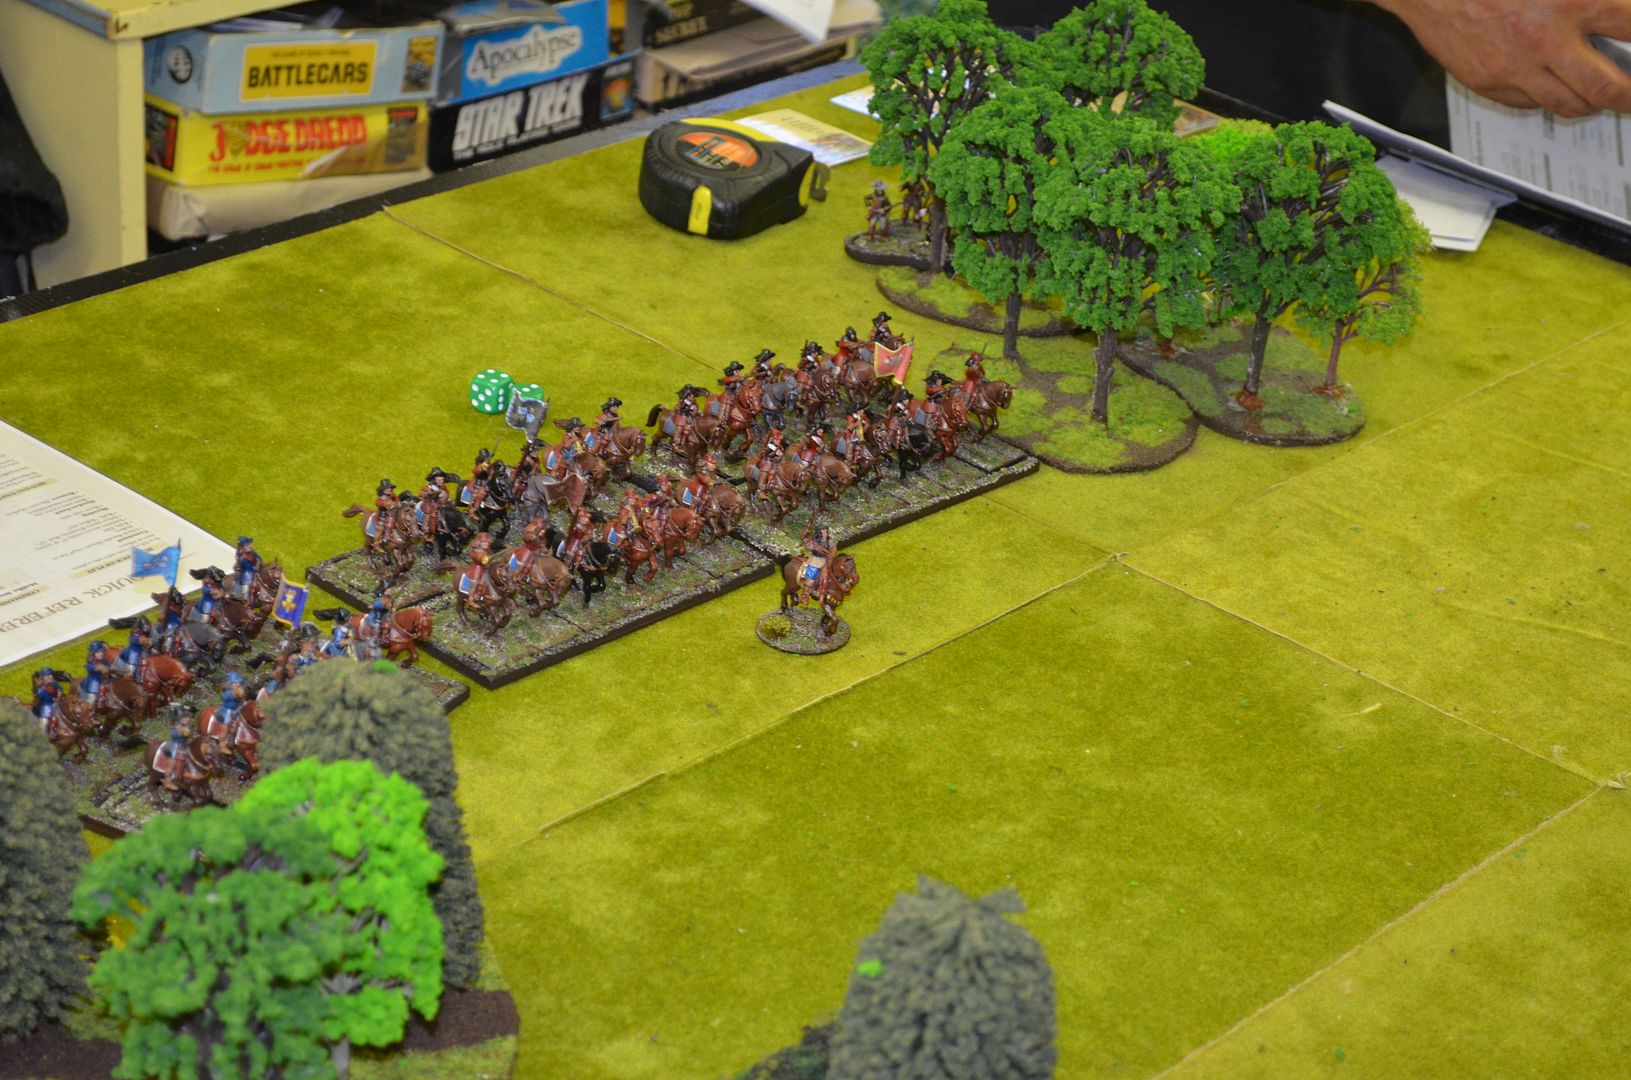
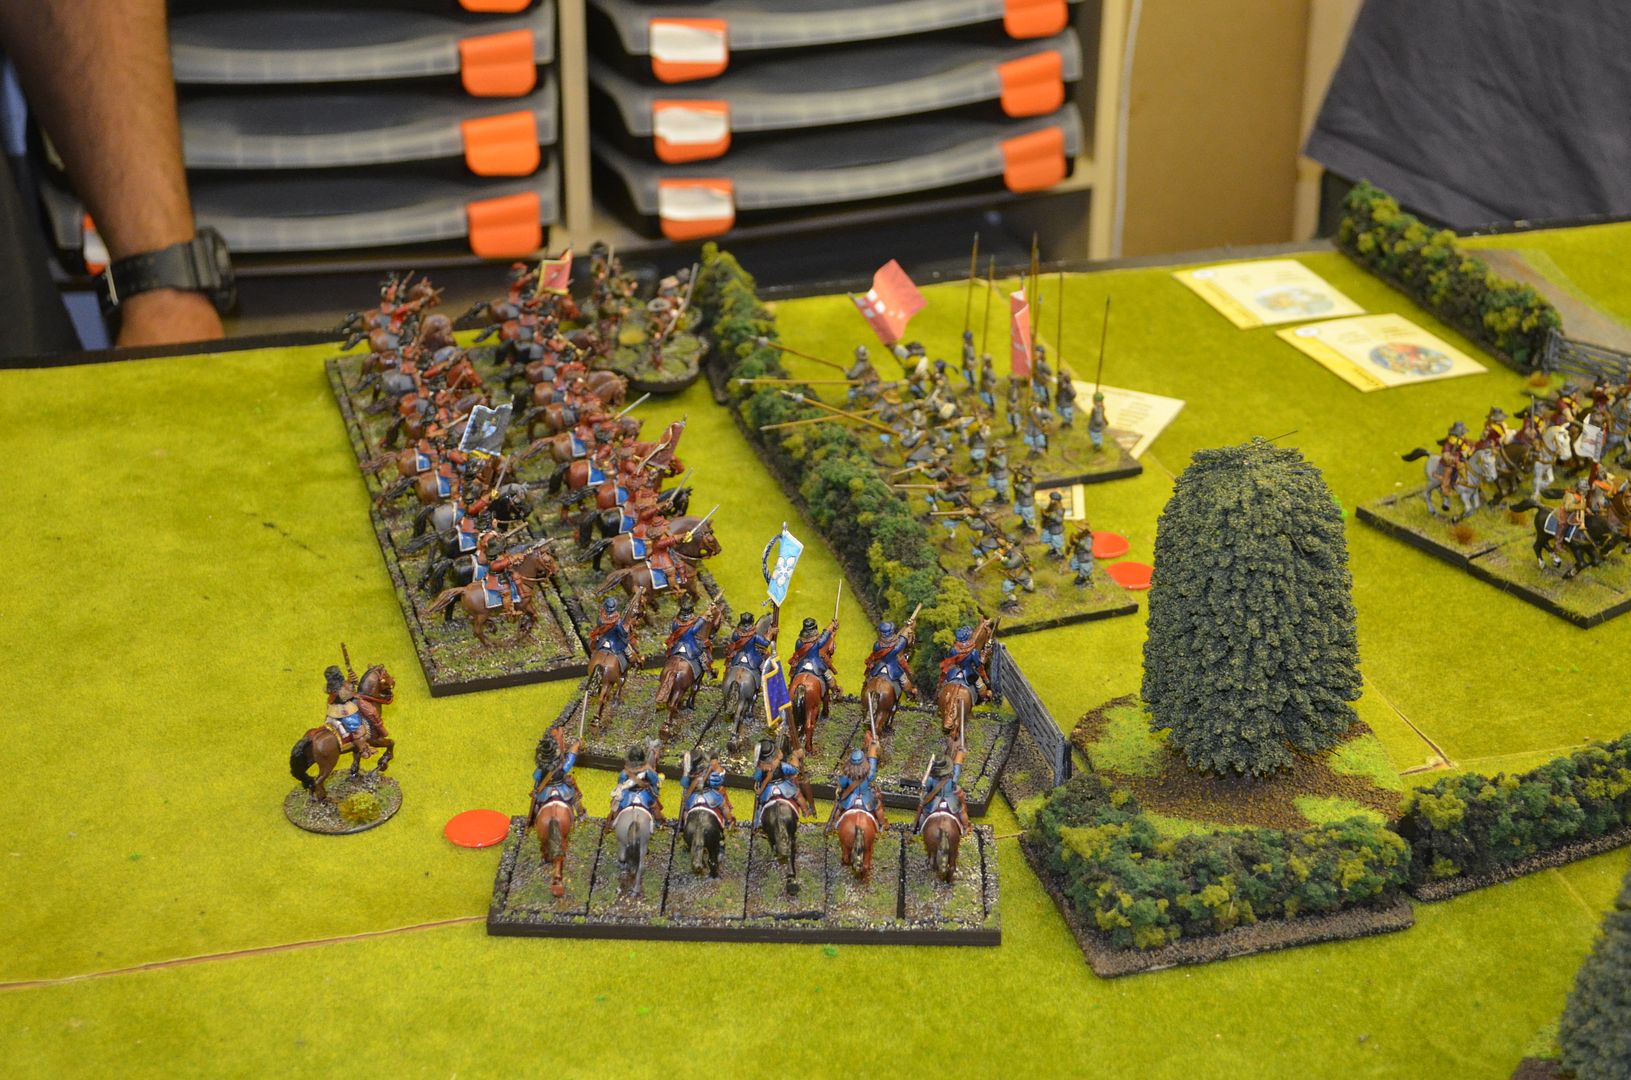
One final point. I had a Cavalry Battalia out on the left wing - this moved twice during the battle ! Never even saw the enemy.
Parliamentarian cavalry commanders suck with their command rating of seven !
 |
| The Boys that never moved ! |
So as our 28mm ECW games played out I can reveal that the Royalists have won two, there has been one draw and of course tonight's technical Parliamentarian victory.
I have agreed with Mark that for this year (2016) my Parliamentarians will all be fielded as early war - from next year I get to field the New Model Army !
Until next time
Top stuff Mr. Shed.
ReplyDeleteExcellent report
ReplyDeletecurious to see how the battle changed / wheeled around so the focus would eventually focus around the road , but with the onset of night we will never know ... oh and hedgehogs becoming an immoveable force - time to bring out Lord Flashgit :-)
ReplyDeleteStirring stuff! Hurrah for Parliament!
ReplyDeleteNice presented battle, great AAR
ReplyDeleteFine looking game, as ever, Mr Shed! More!!!
ReplyDeleteReally cool looking game!
ReplyDeleteVery entertaining, I do like your cards.
ReplyDeleteVery enjoyable read and nice pics! Makes the era tempting!
ReplyDelete