For those of you interested part 1 of this series can be found here...The Keep part 1
Dont worry there is a link at the end of part 1 which will bring you back to this point...
So we continue with the build of the Castle Keep of Nottingham.
In my last post I illustrated start of my construction of
the castle keep and the gatehouse. Last weekend things progressed in the
shed and I am delighted to report that the Castle for Tales of Shedwood is now
taking shape.
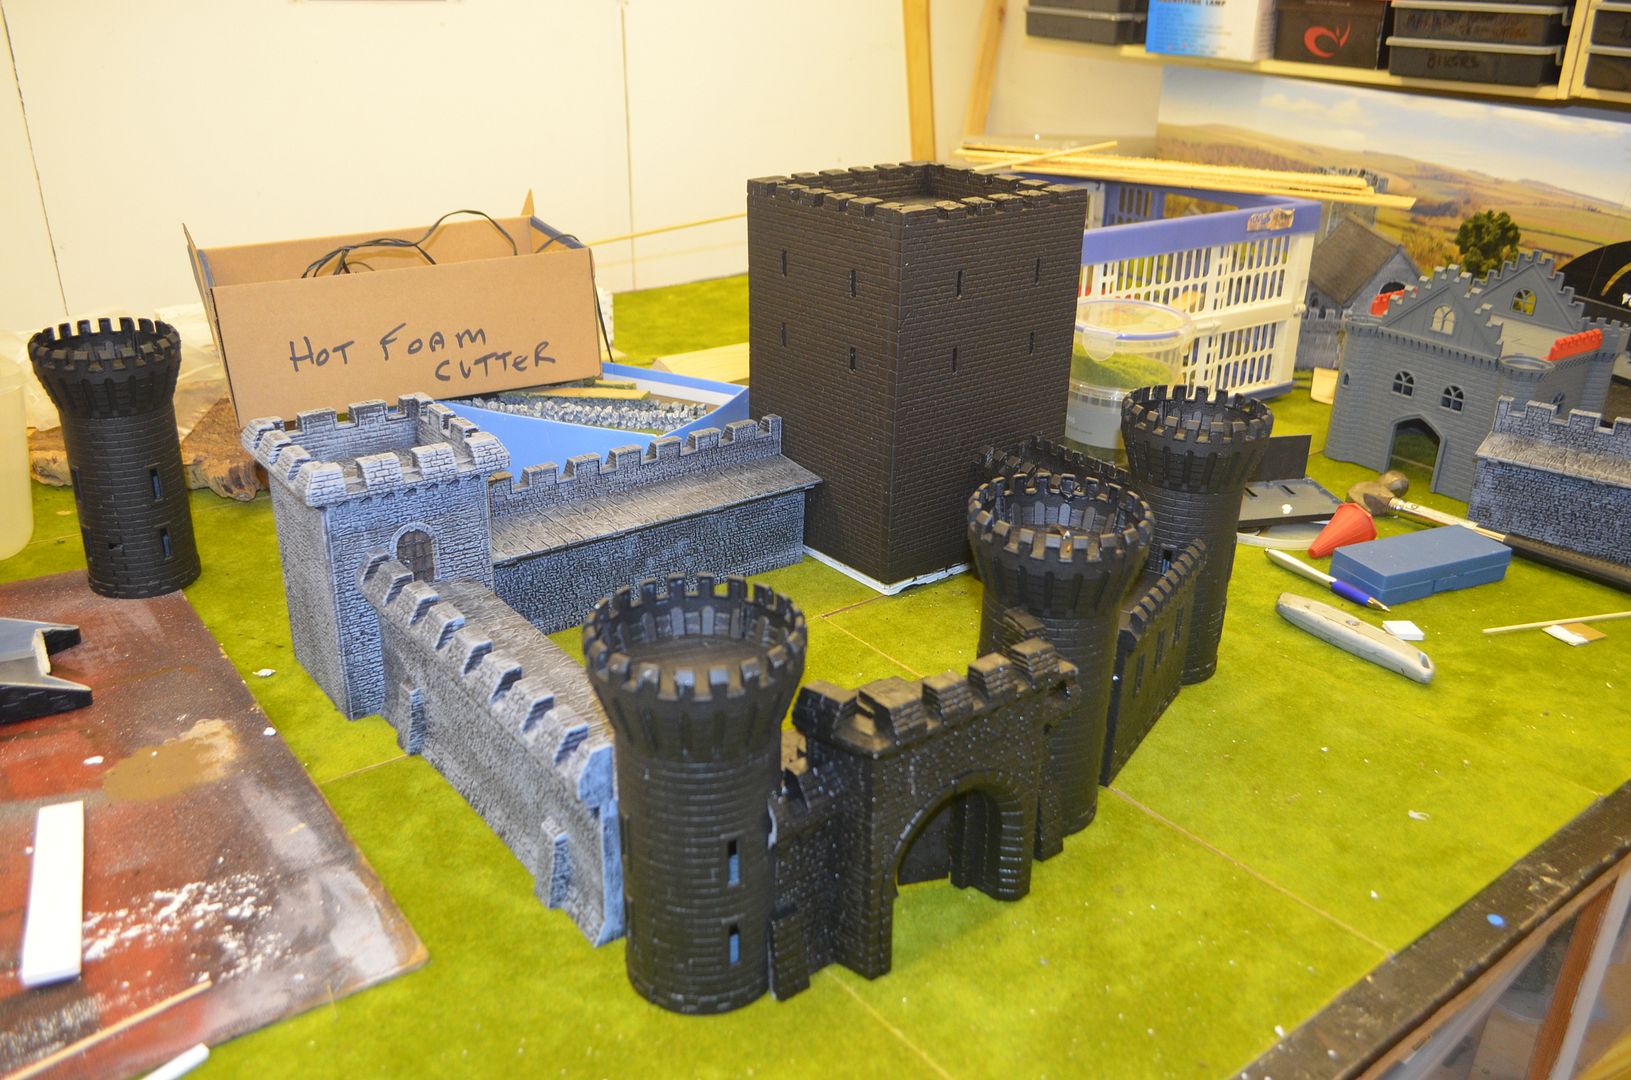
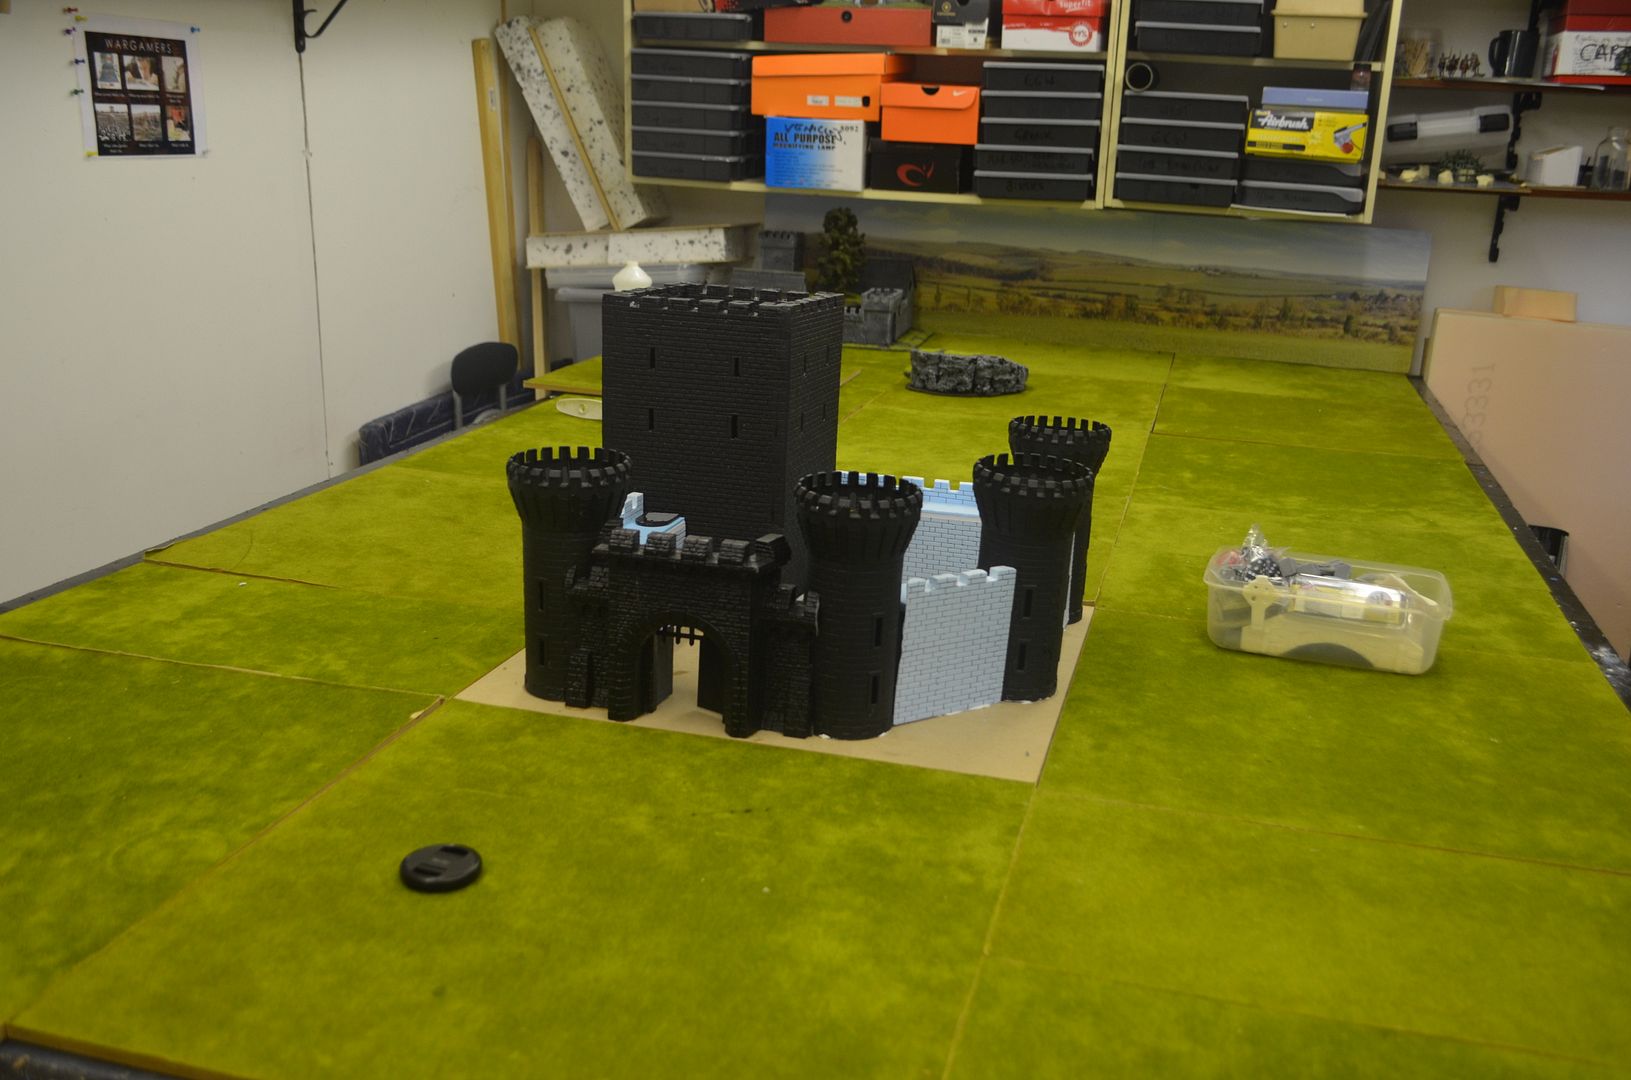
The first photo illustrates experiments in the basic layout...as you will see later on the the walls somewhat change.
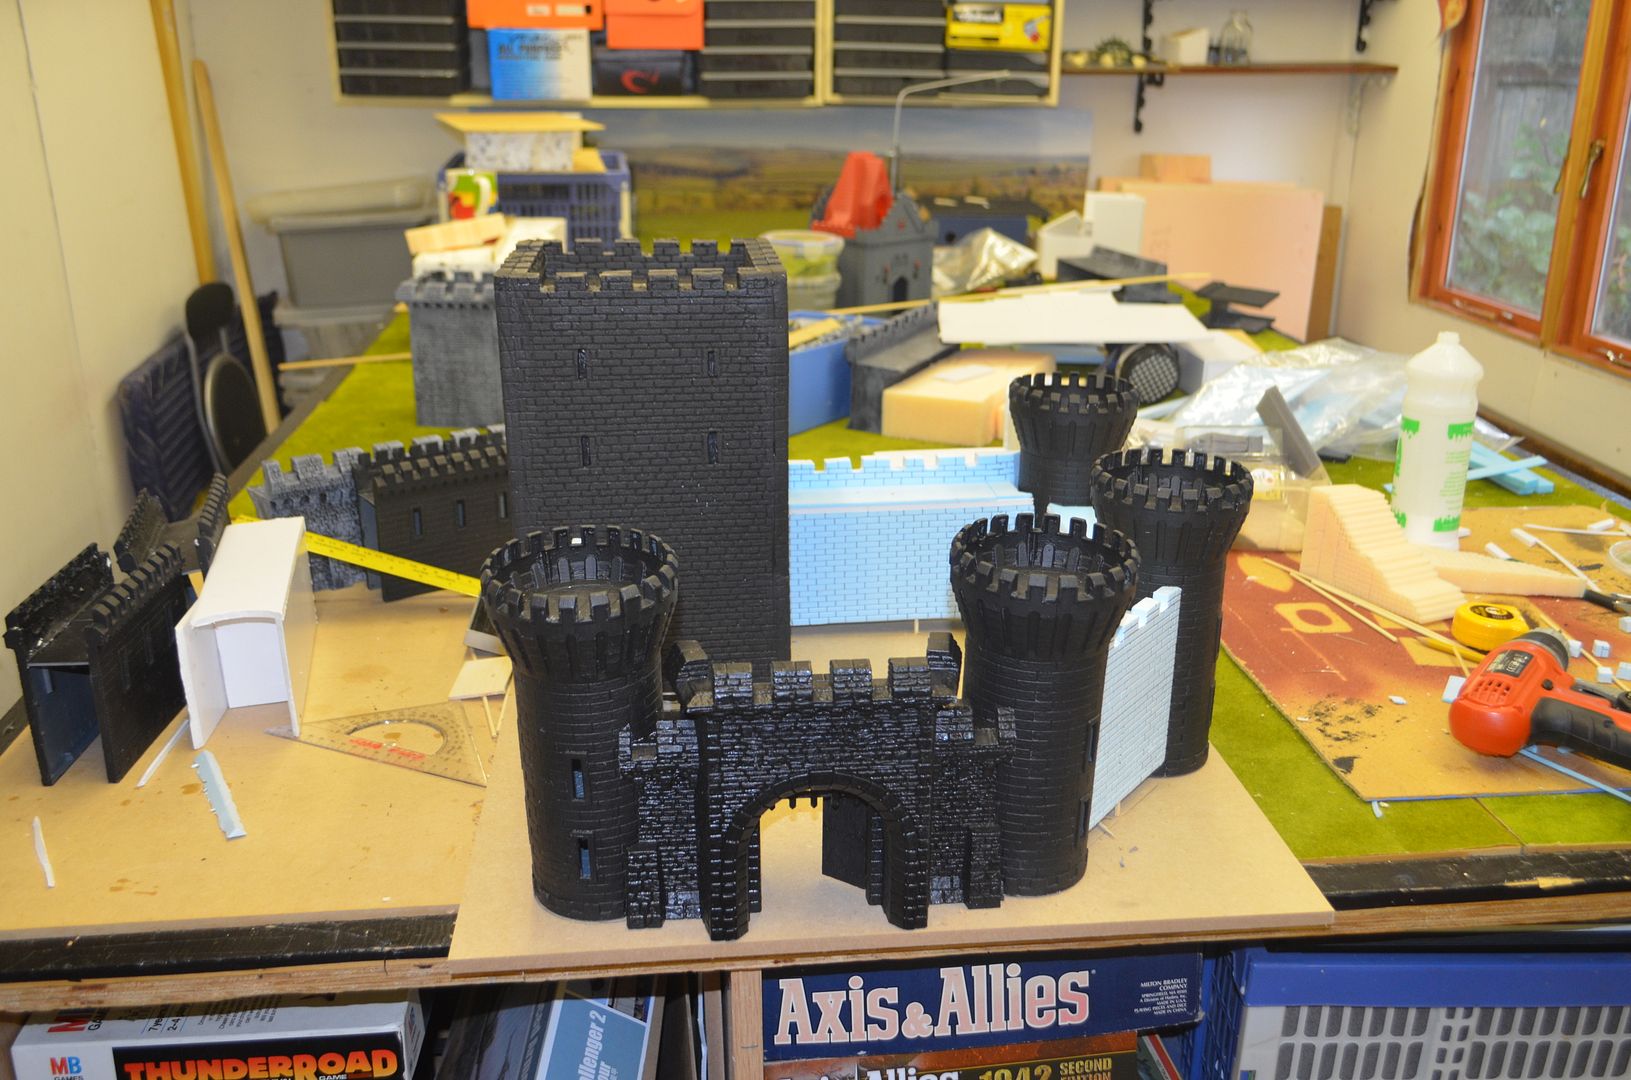
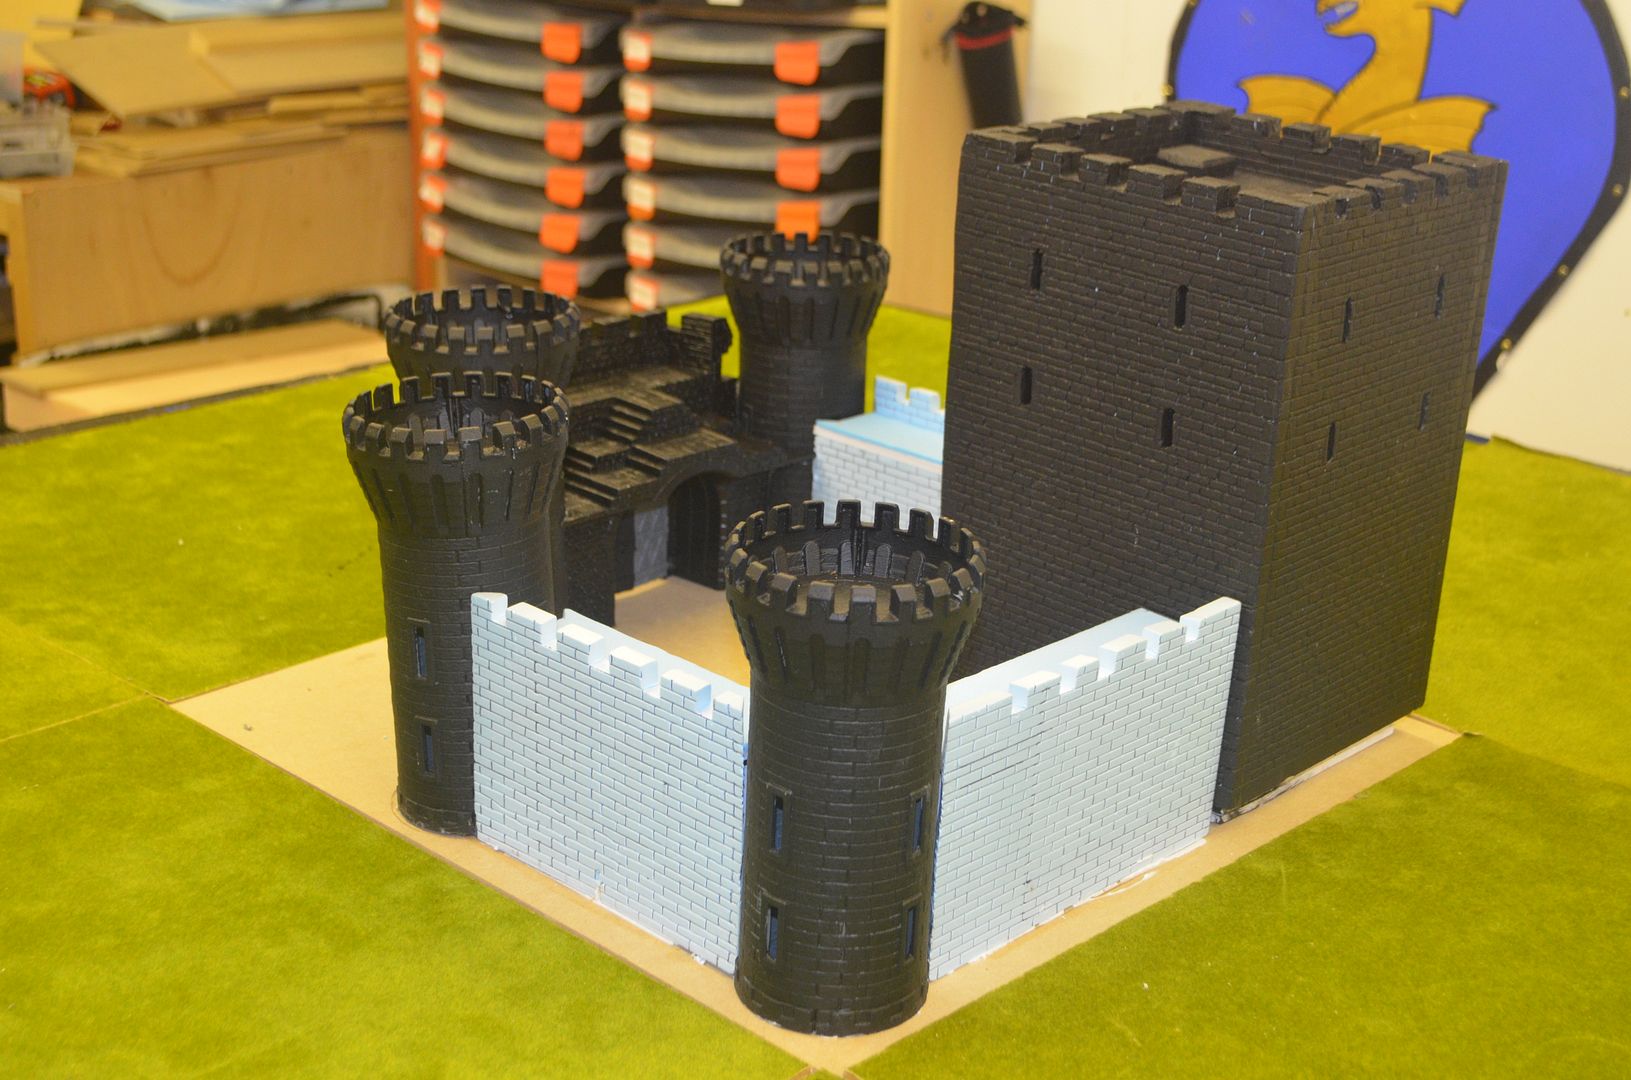
This is the final layout. (below)
As many of you will know my table in the shed is covered with 9mm Mdf squares (50cm x 50cm). The standard table is 1.5 metres x 3metres so this has 18 squares. Each square is currently covered in the green battlemat from Games Workshop. The Layout has been extremely practical and hardwearing for almost 8 years. The squares can be stored easily and removed either to reveal a blue vinyl covered surface for seas, rivers etc or just removed so I can use the table as a work bench.
I decided on Saturday that the Castle would sit in the footprint of one of the these squares, this would ensure that it wasn’t so big as to dominate the entire table but to also allow for the base to be moved around as the game fits. With the size determined I then decided that the main tower would be fixed to this base and liked with both battlements and towers to the rest of the fortification.
Having marked out the best fit with the other towers and gatehouse I set about the construction of the walls. These were built using an inner structure of foam core and then clad in blue foam. Once again the stone work was embossed on the blue foam.
Having marked out the best fit with the other towers and gatehouse I set about the construction of the walls. These were built using an inner structure of foam core and then clad in blue foam. Once again the stone work was embossed on the blue foam.
The final layout withe new blue walls.
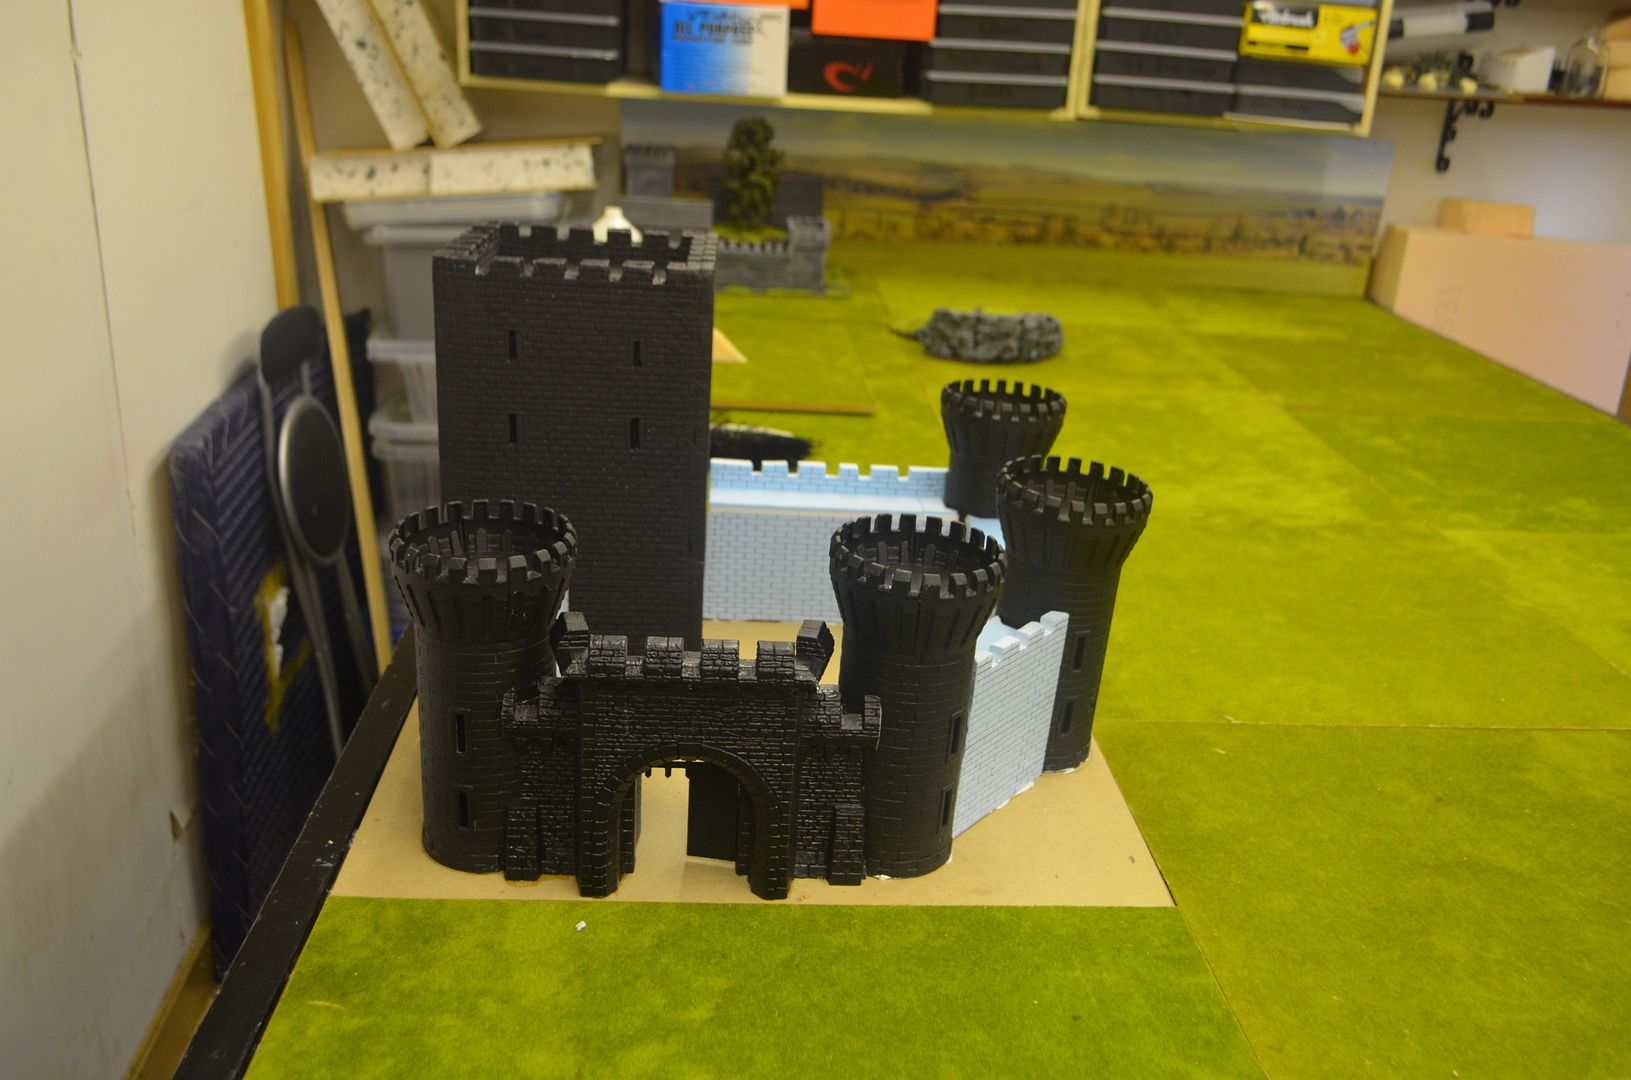
As you see the Castle can be moved around the board and sits flush with rest of my boards.
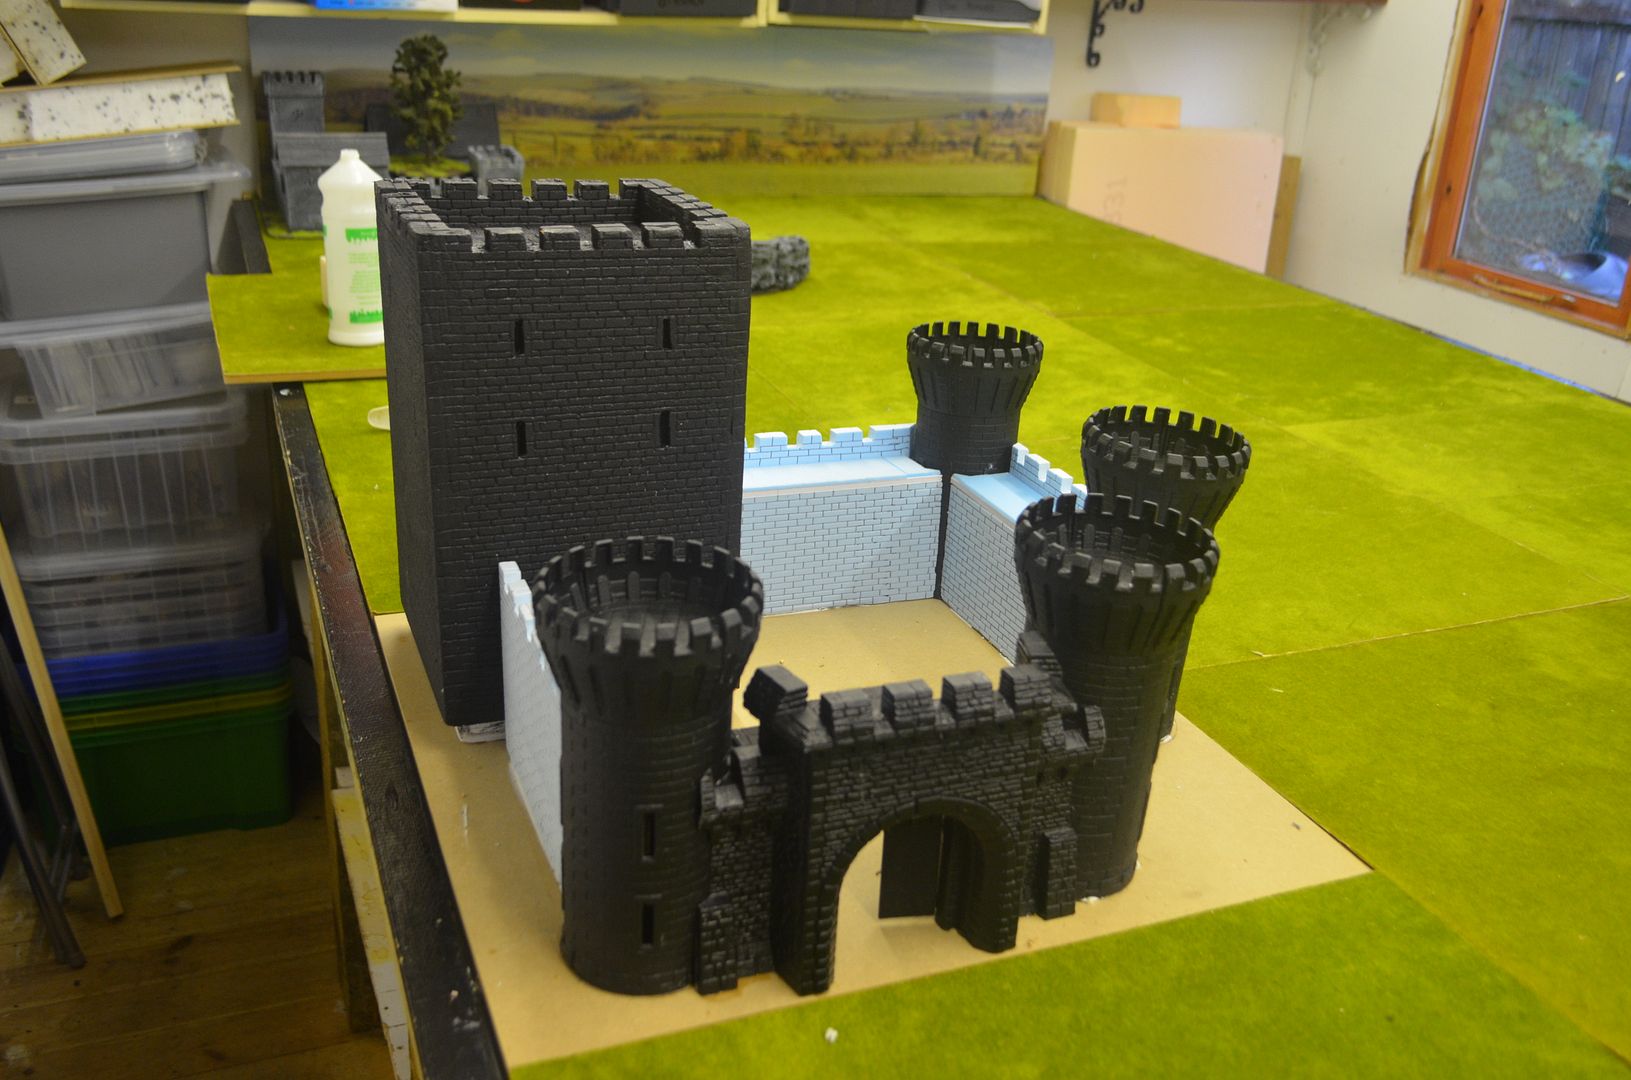
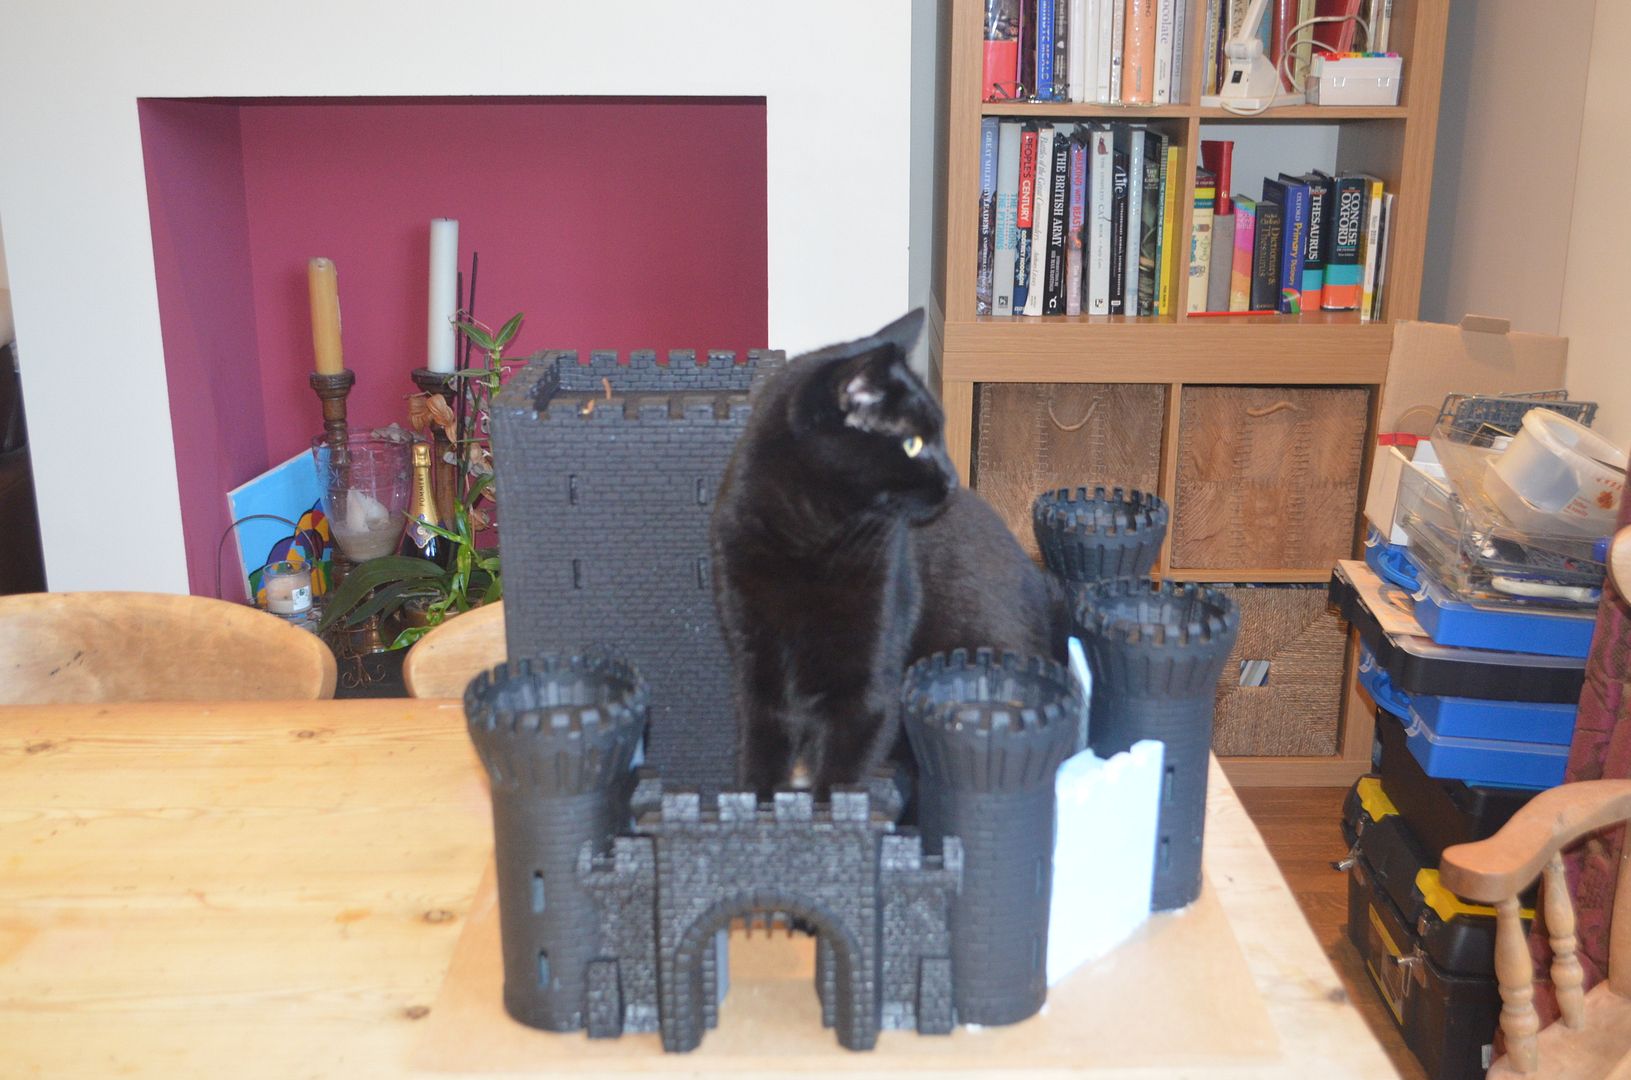
Over the next 24 hours the walls were finished and on Sunday night I fixed all the components to the board.
The next job will be to fill all the joins between the walls and the towers and to give the whole thing a lick of paint.
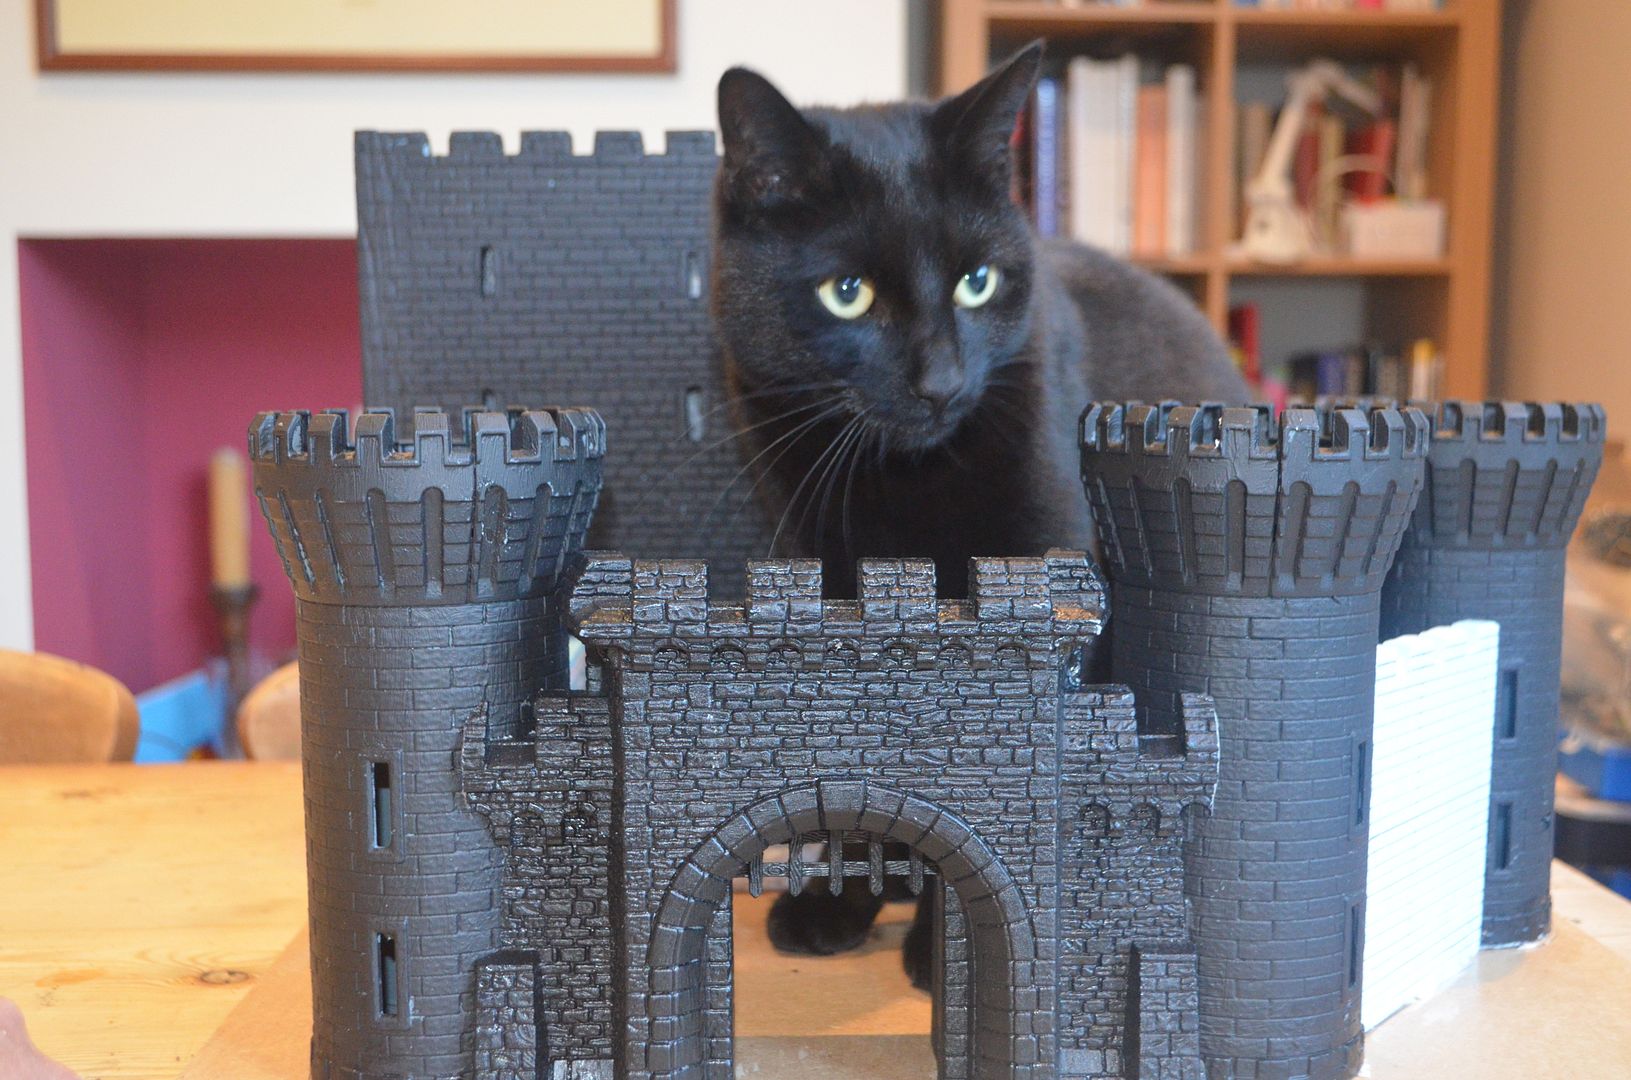
My cat then decided that this would make a suitable resting place...
Part 3 is now complete and can be found here...
Part 3 here...
Cheers
hehe very cool. This is my castle! Tis like a box therefore tis mine! Go away minion nothing to see here!
ReplyDeleteLOL, nice castle and we have the same cat!
ReplyDeletehttp://brazosevilempire.blogspot.com/2012/09/ninja-cat-in-sink.html